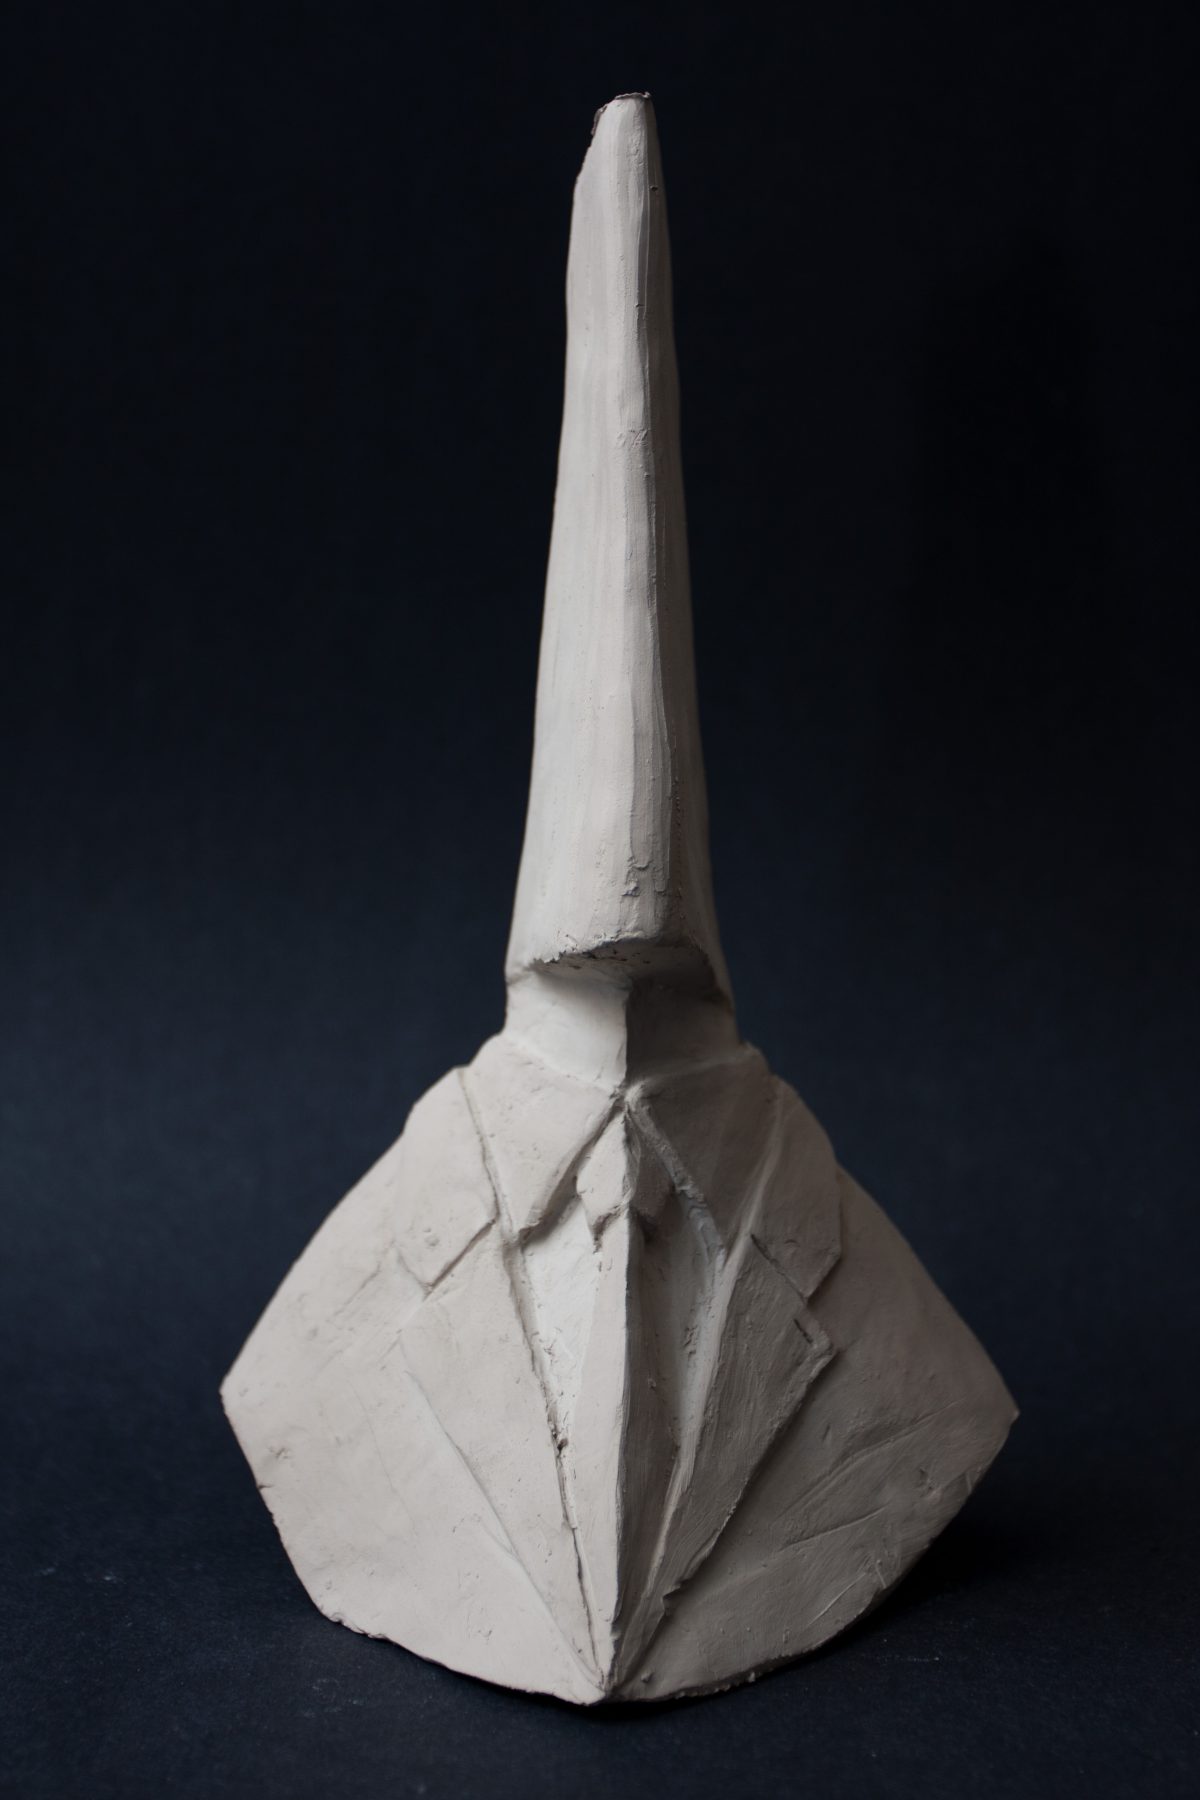
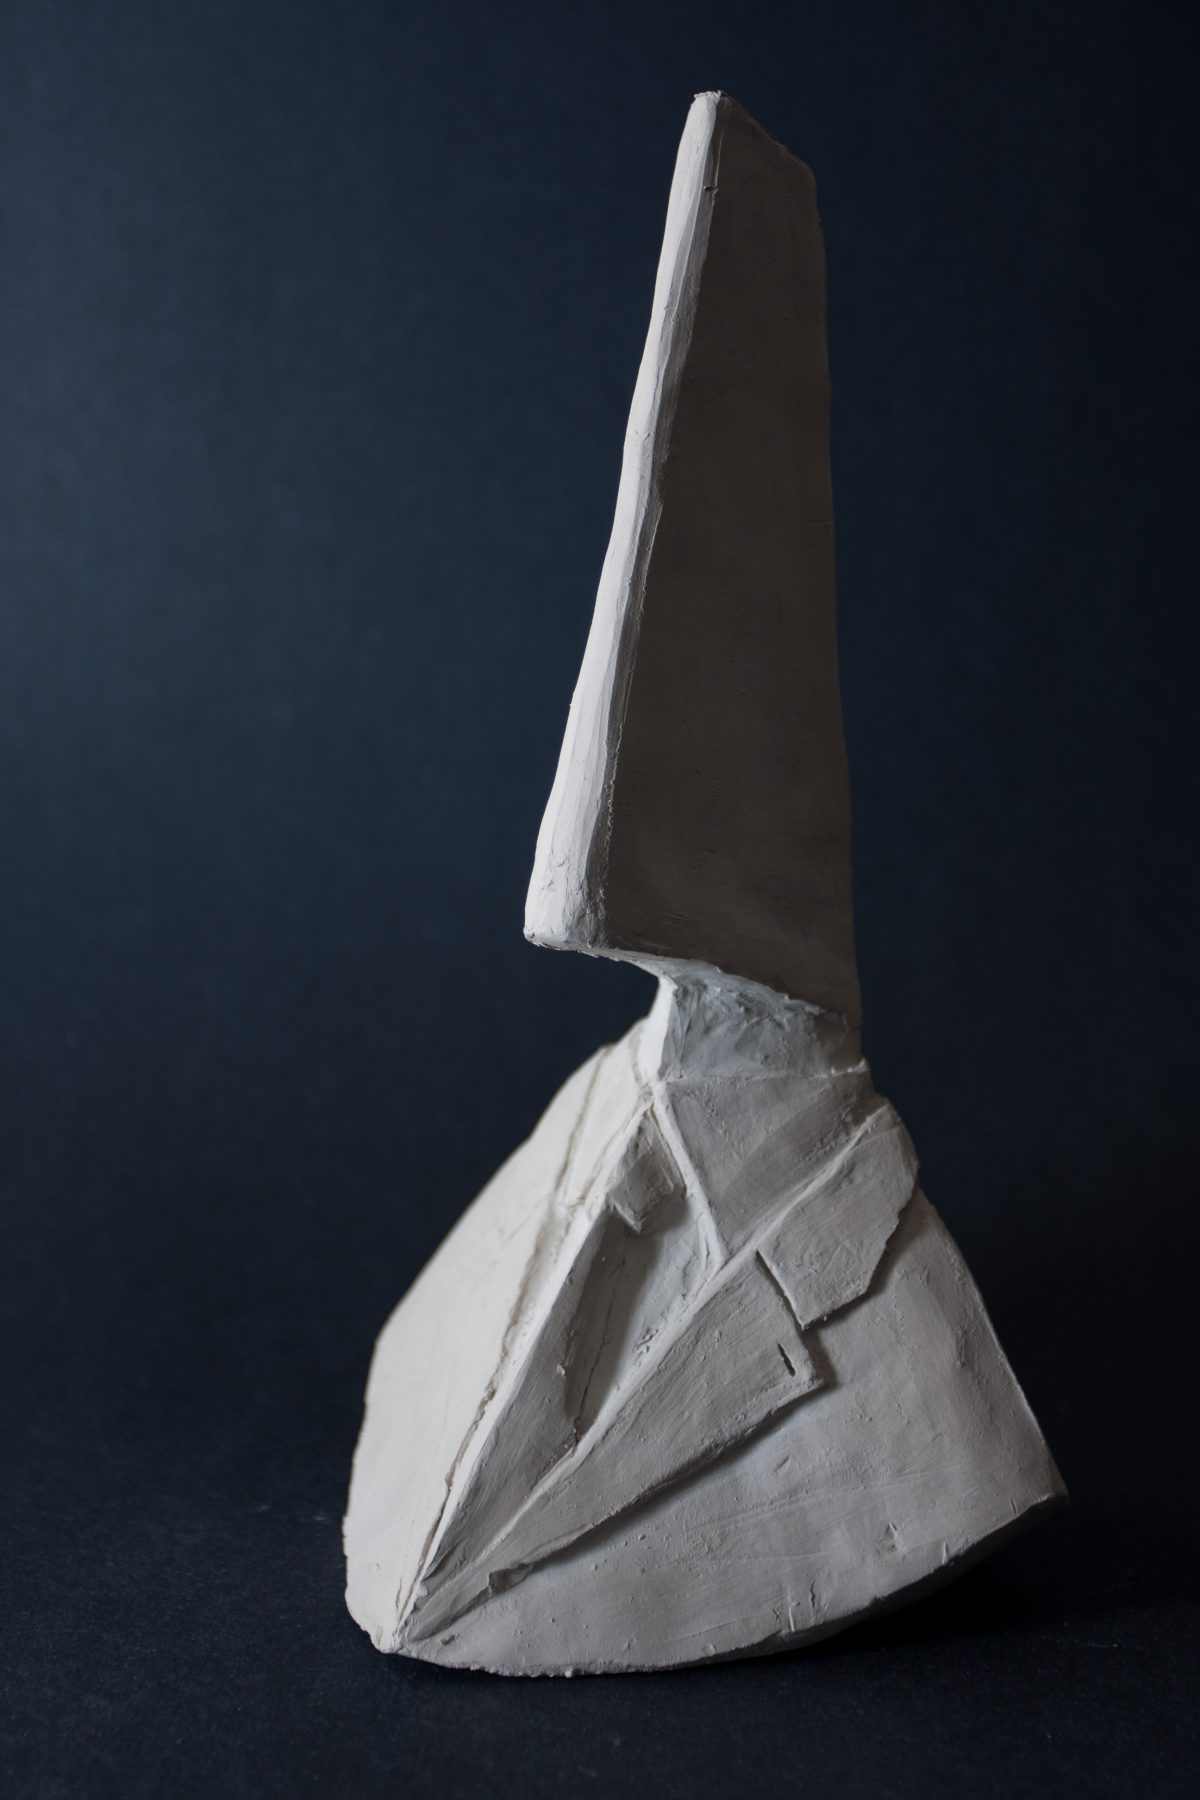
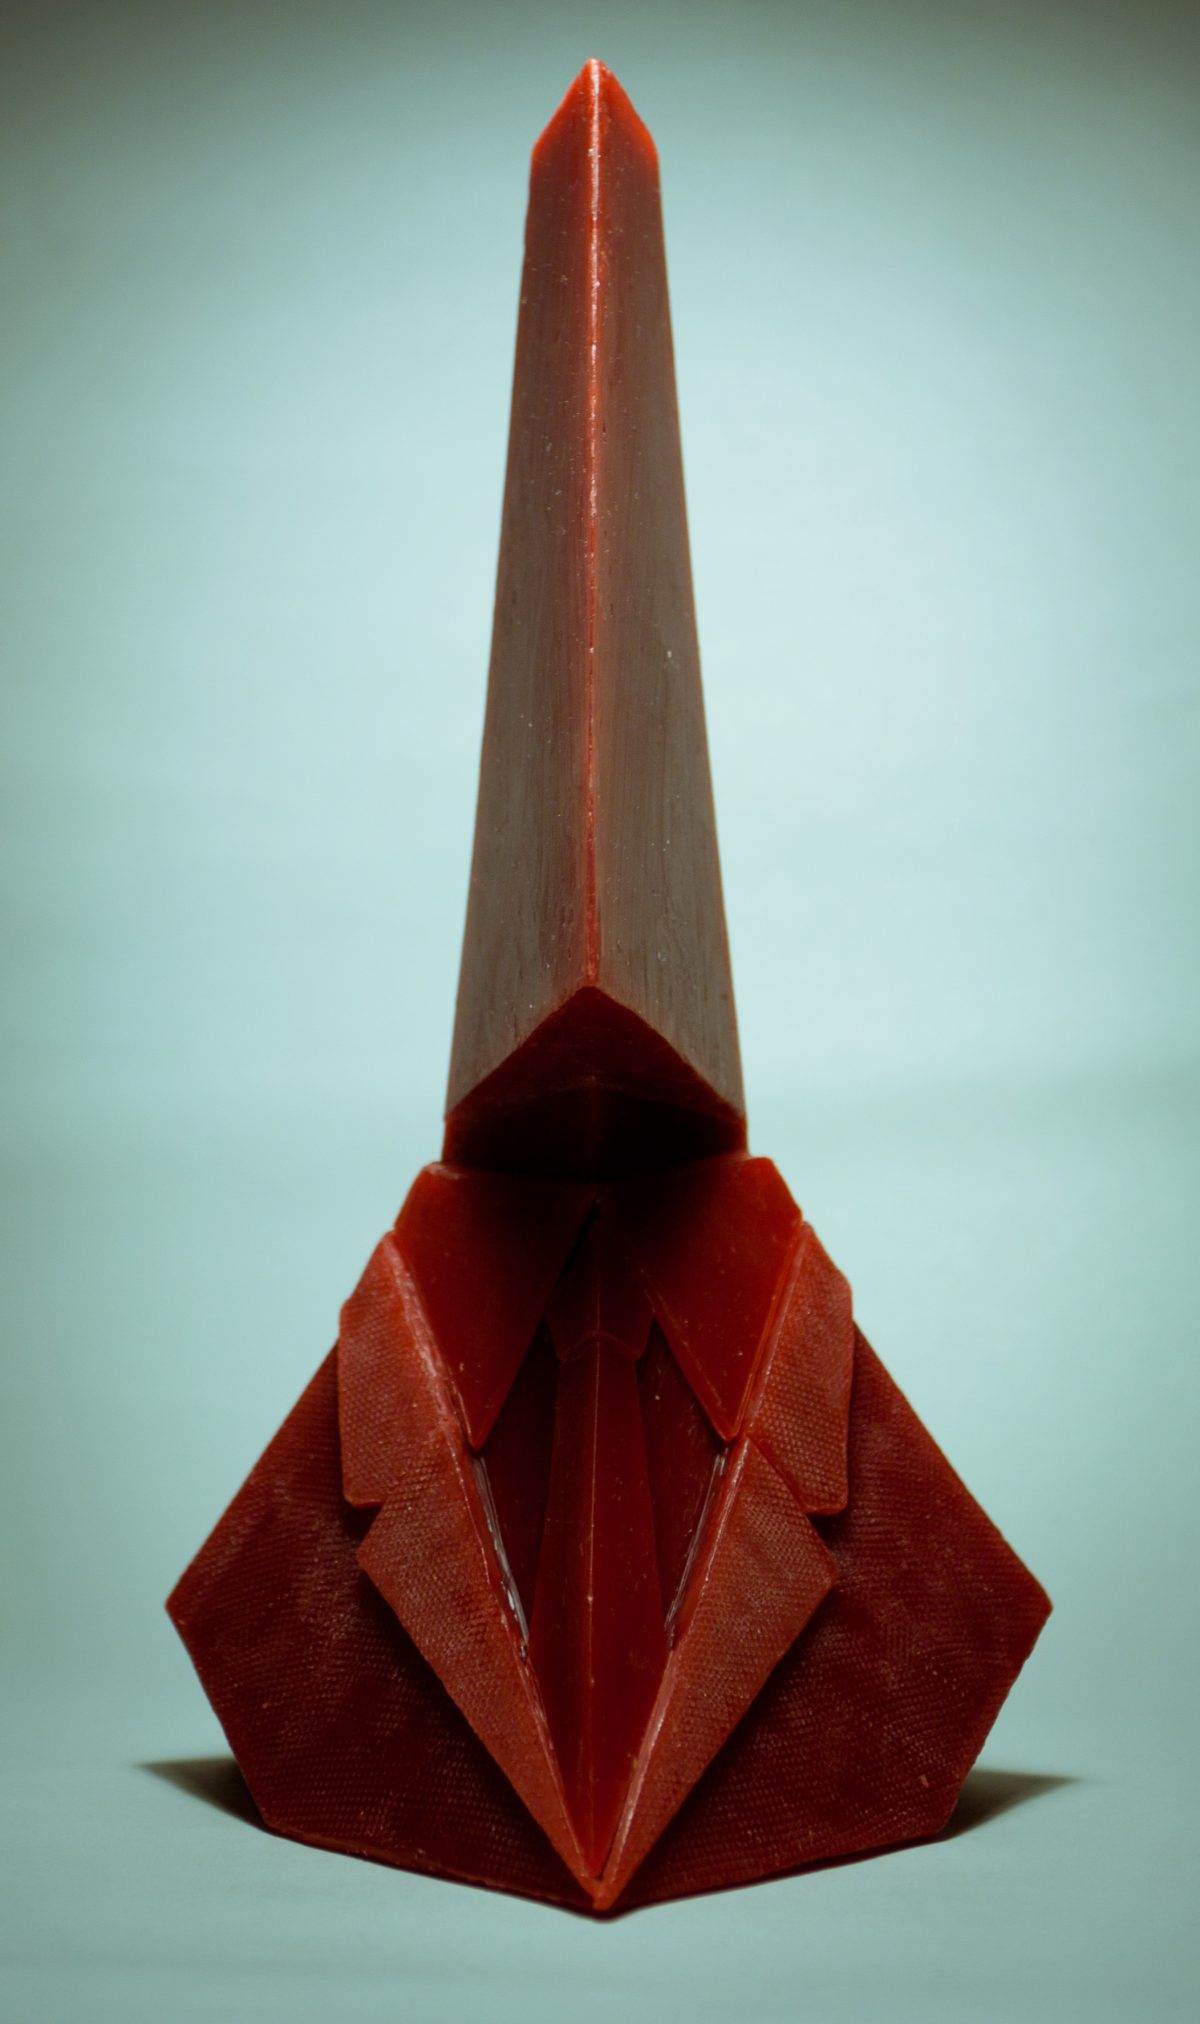
Metal casting workshop at Emily Carr University over a period of 5 weeks.
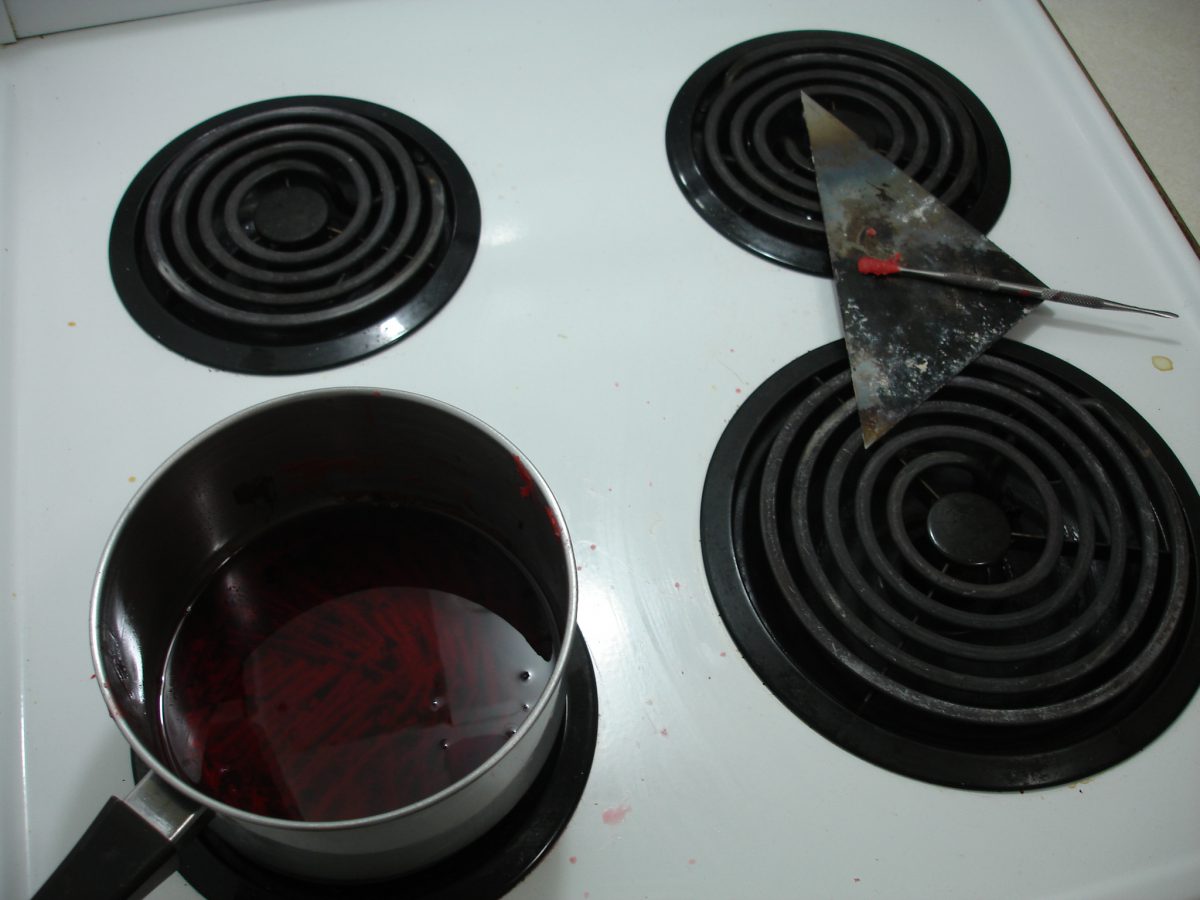
Divider – wip – Melt the wax
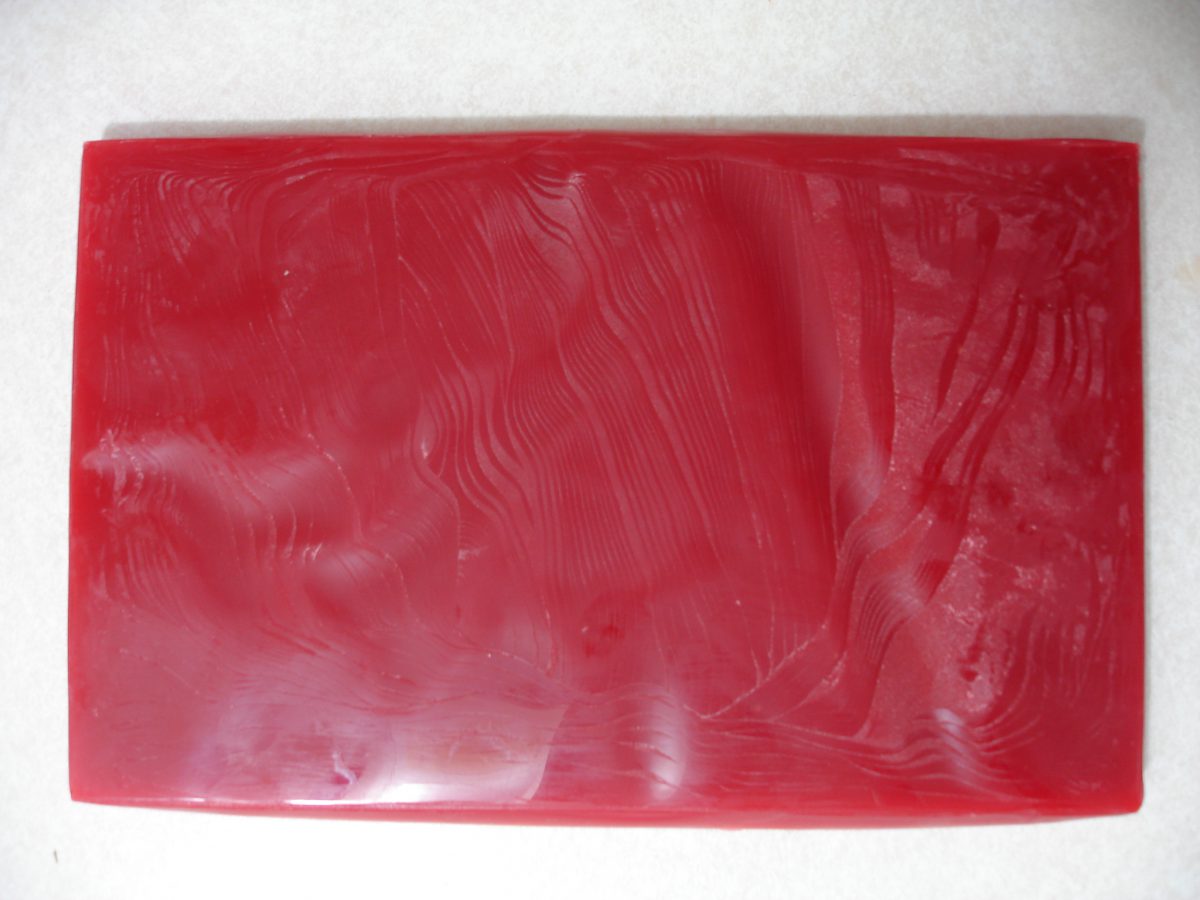
Divider – wip – Make some wax plates

Divider – wip – Assemble the basic shapes
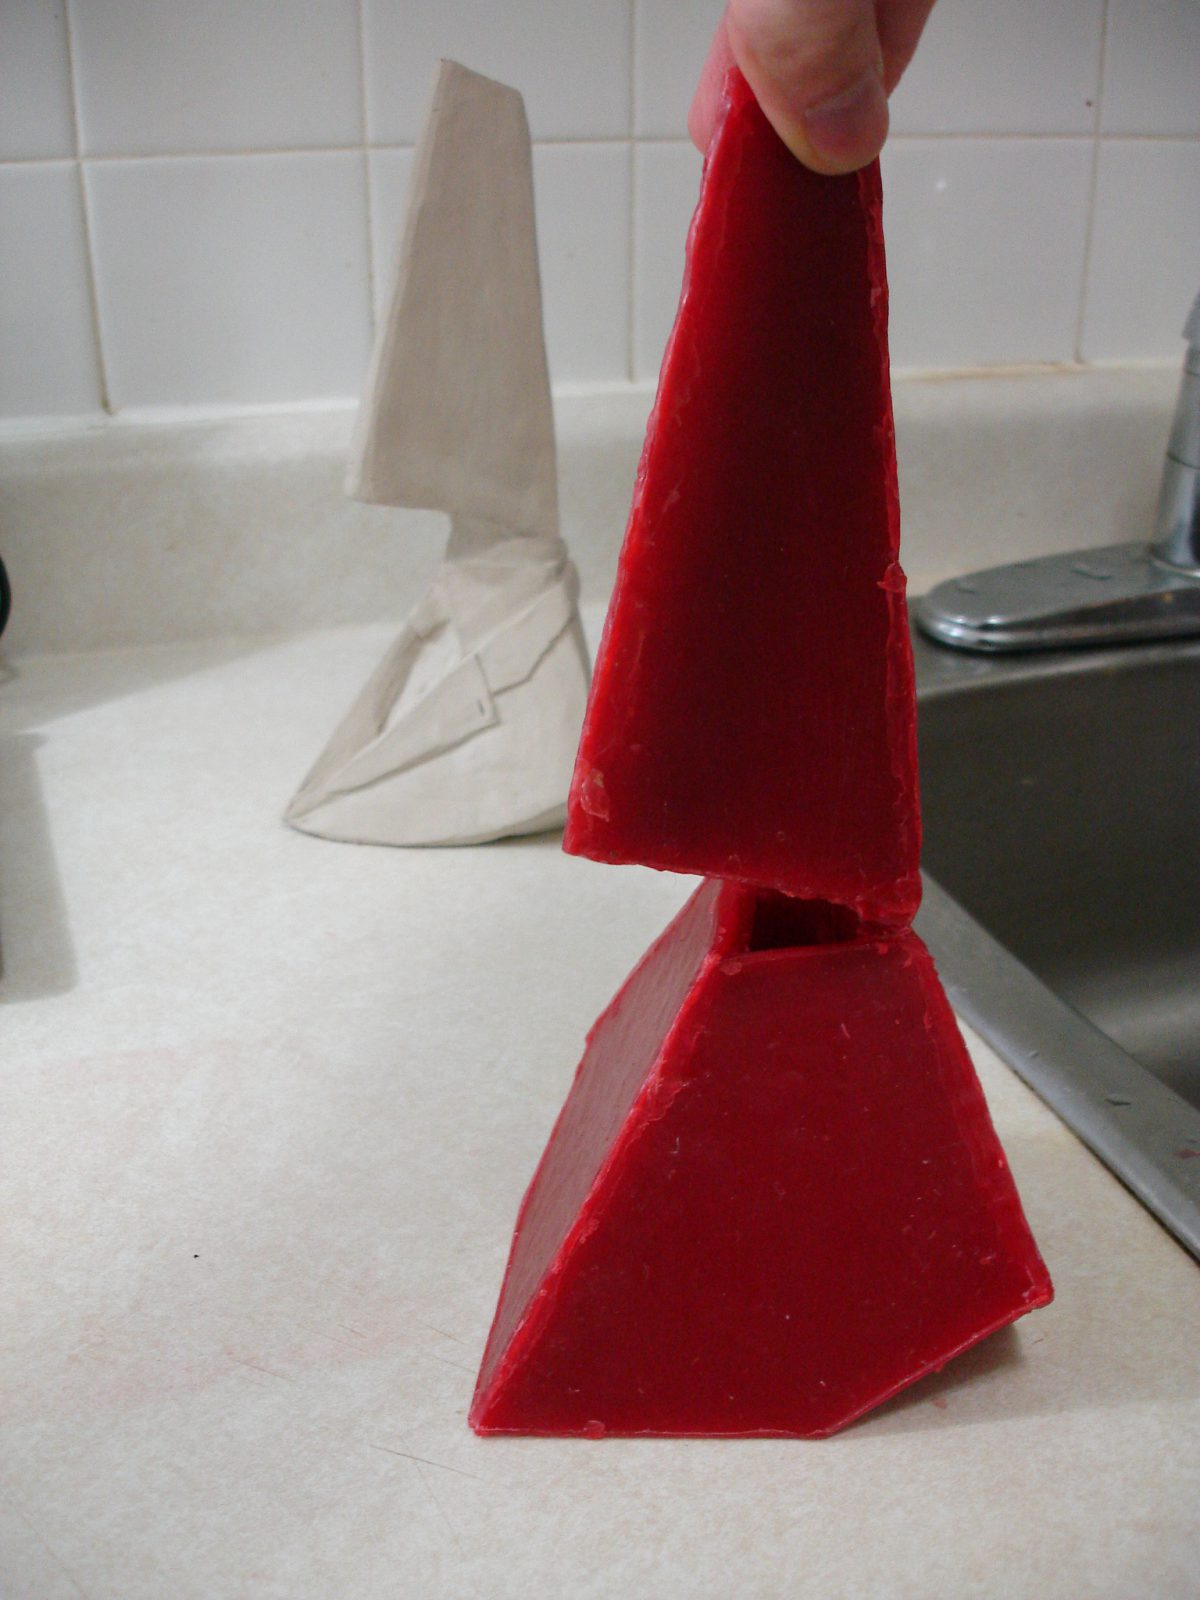
Divider – wip – Check proportions
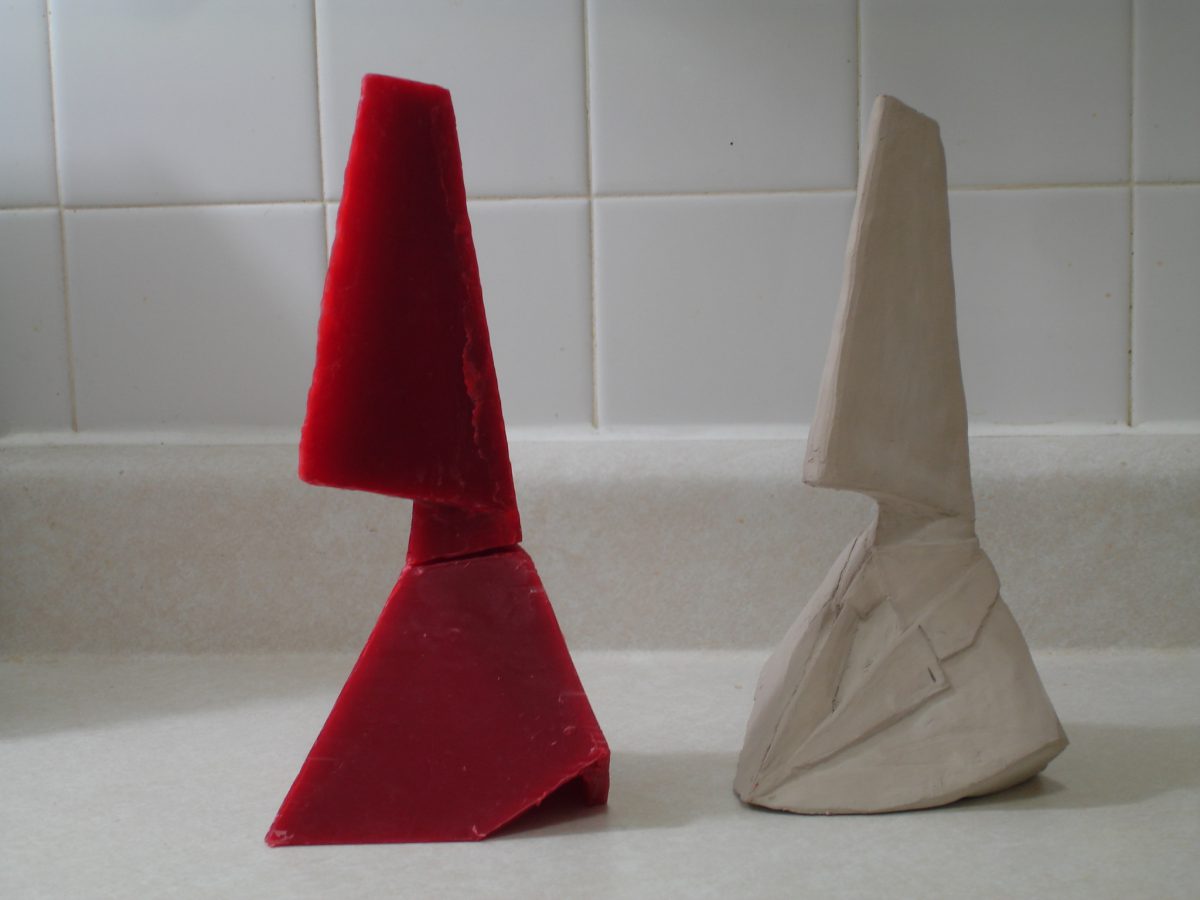
Divider – wip – Add the neck
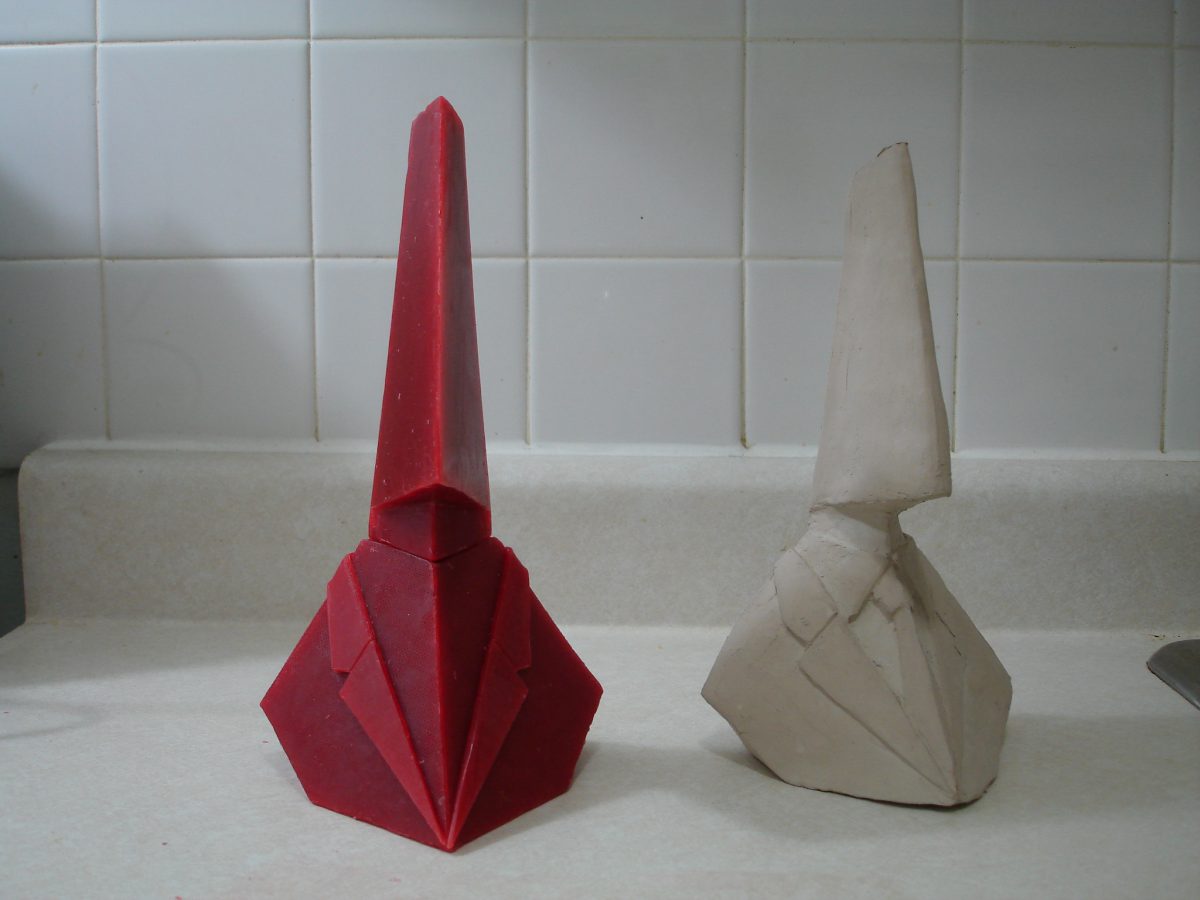
Divider – wip – Start adding the suit details
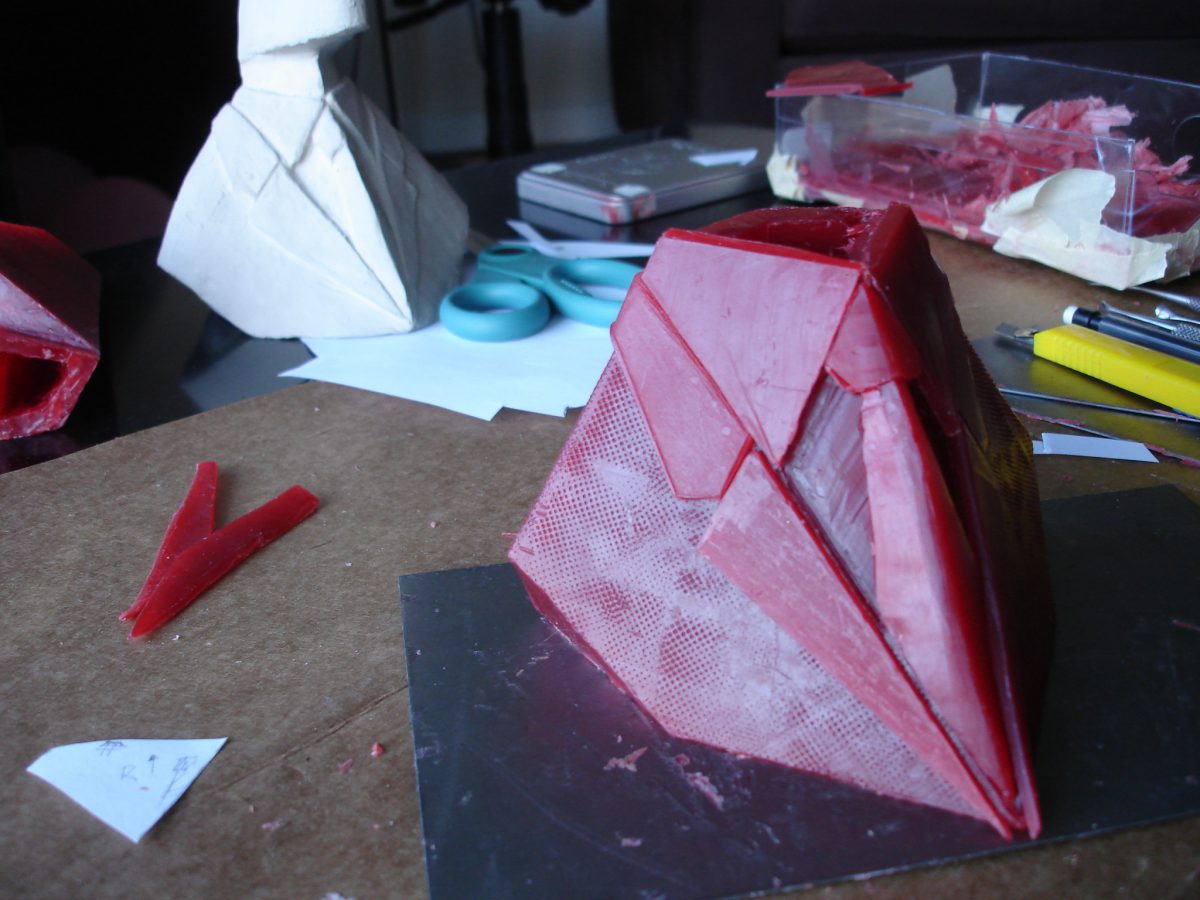
Divider – wip – More details and tie attempt 1
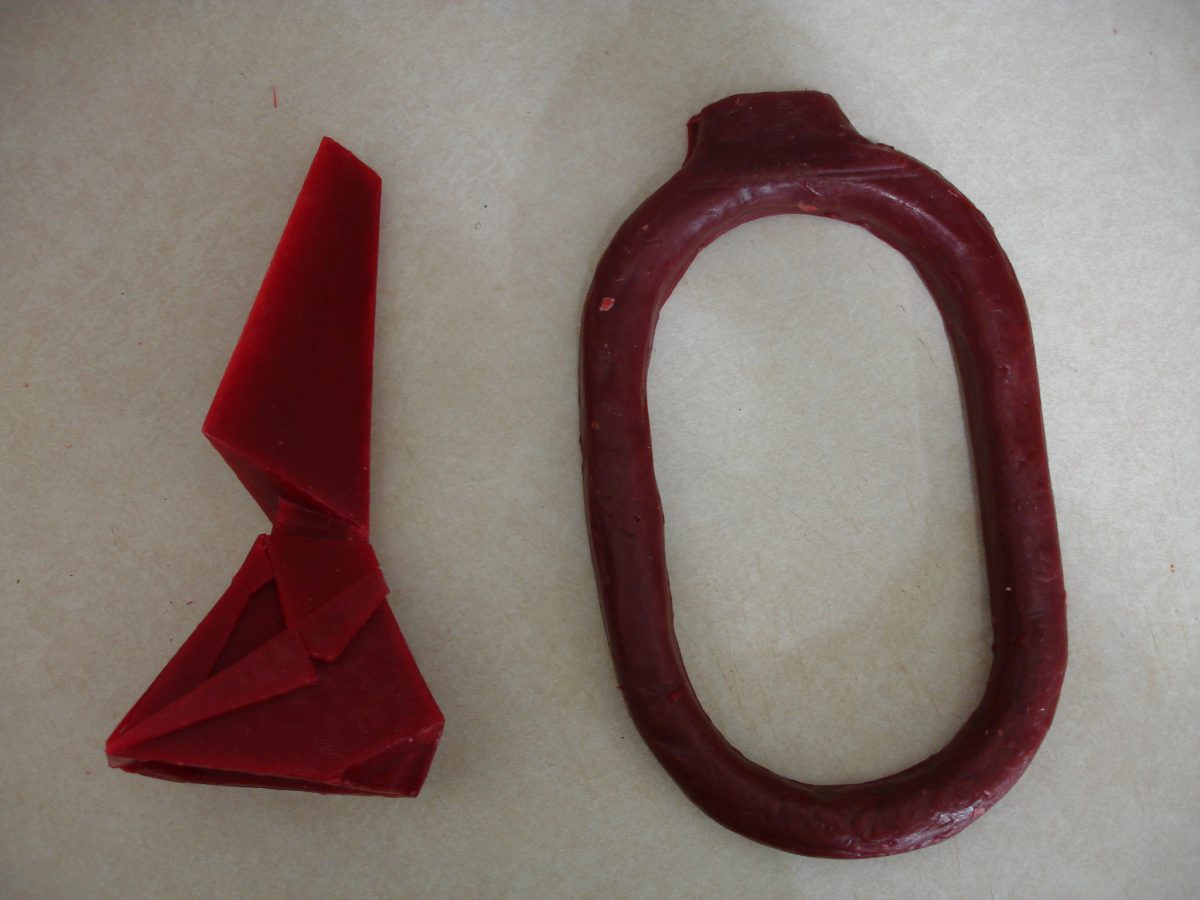
Divider – wip – Check against the main sprout
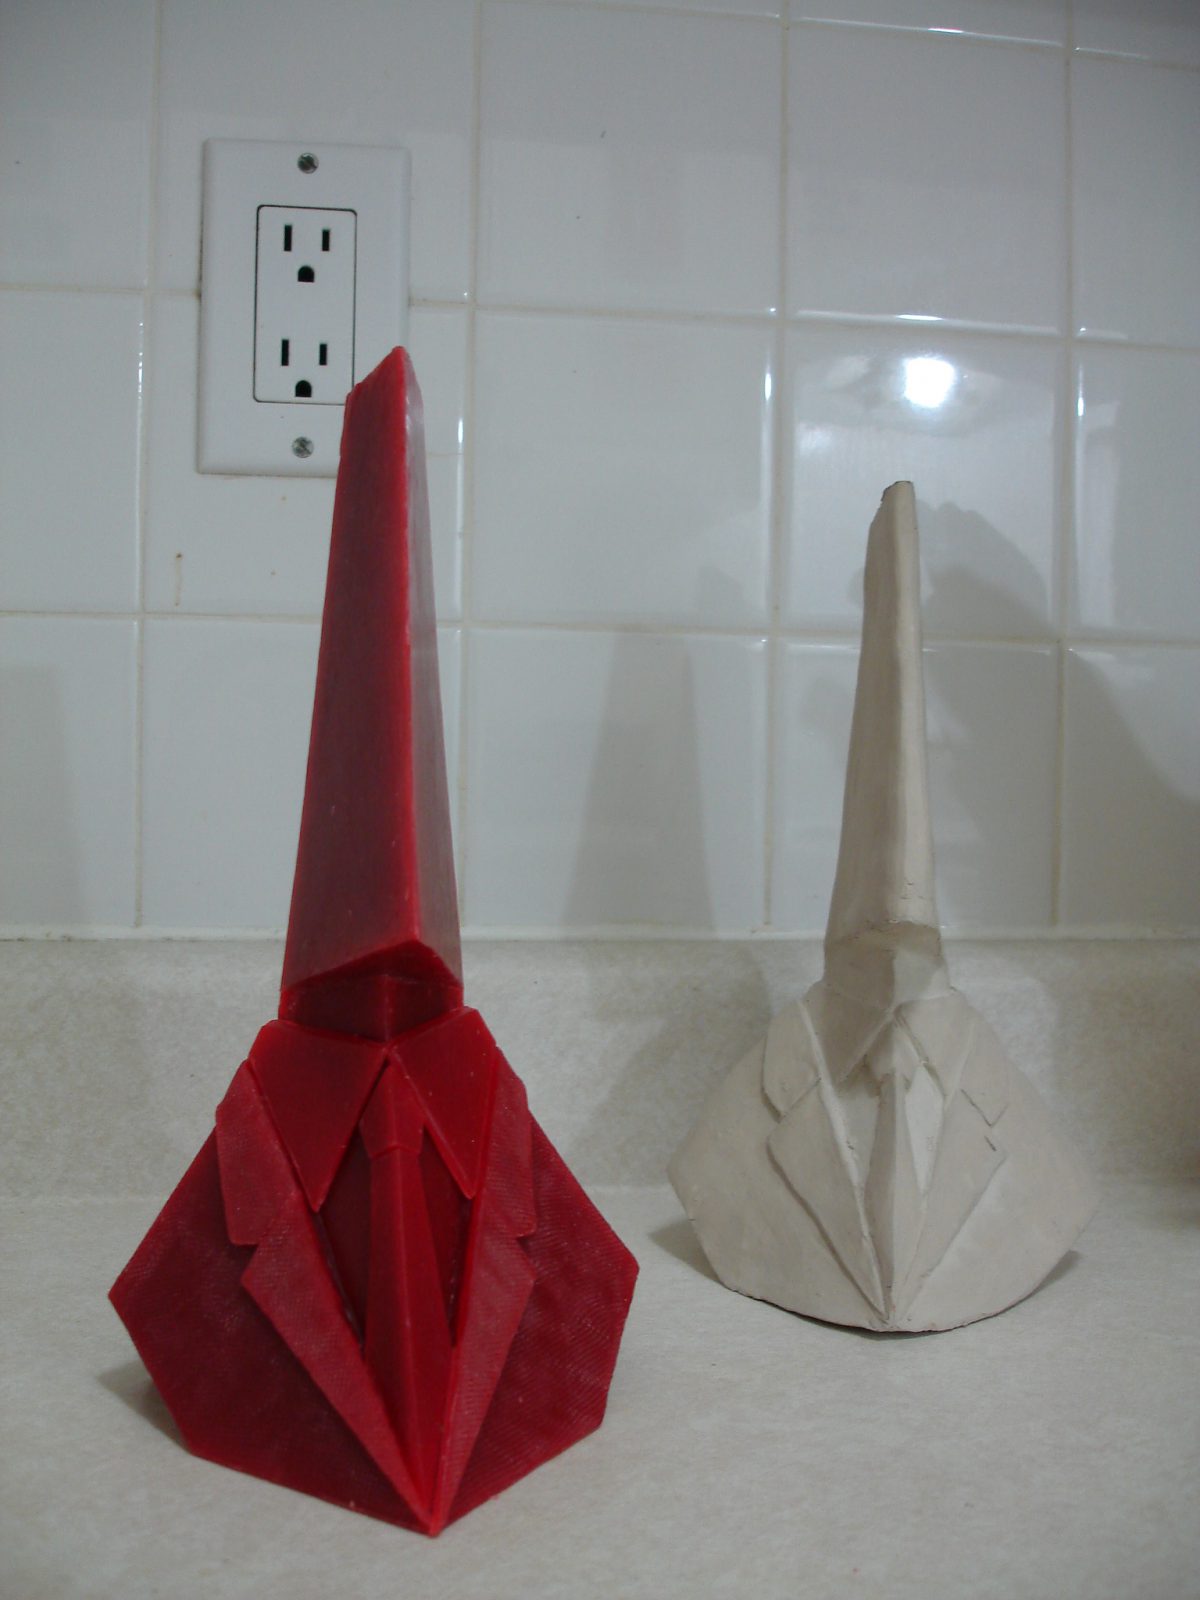
Divider – wip – Check finished model againt clay prototype
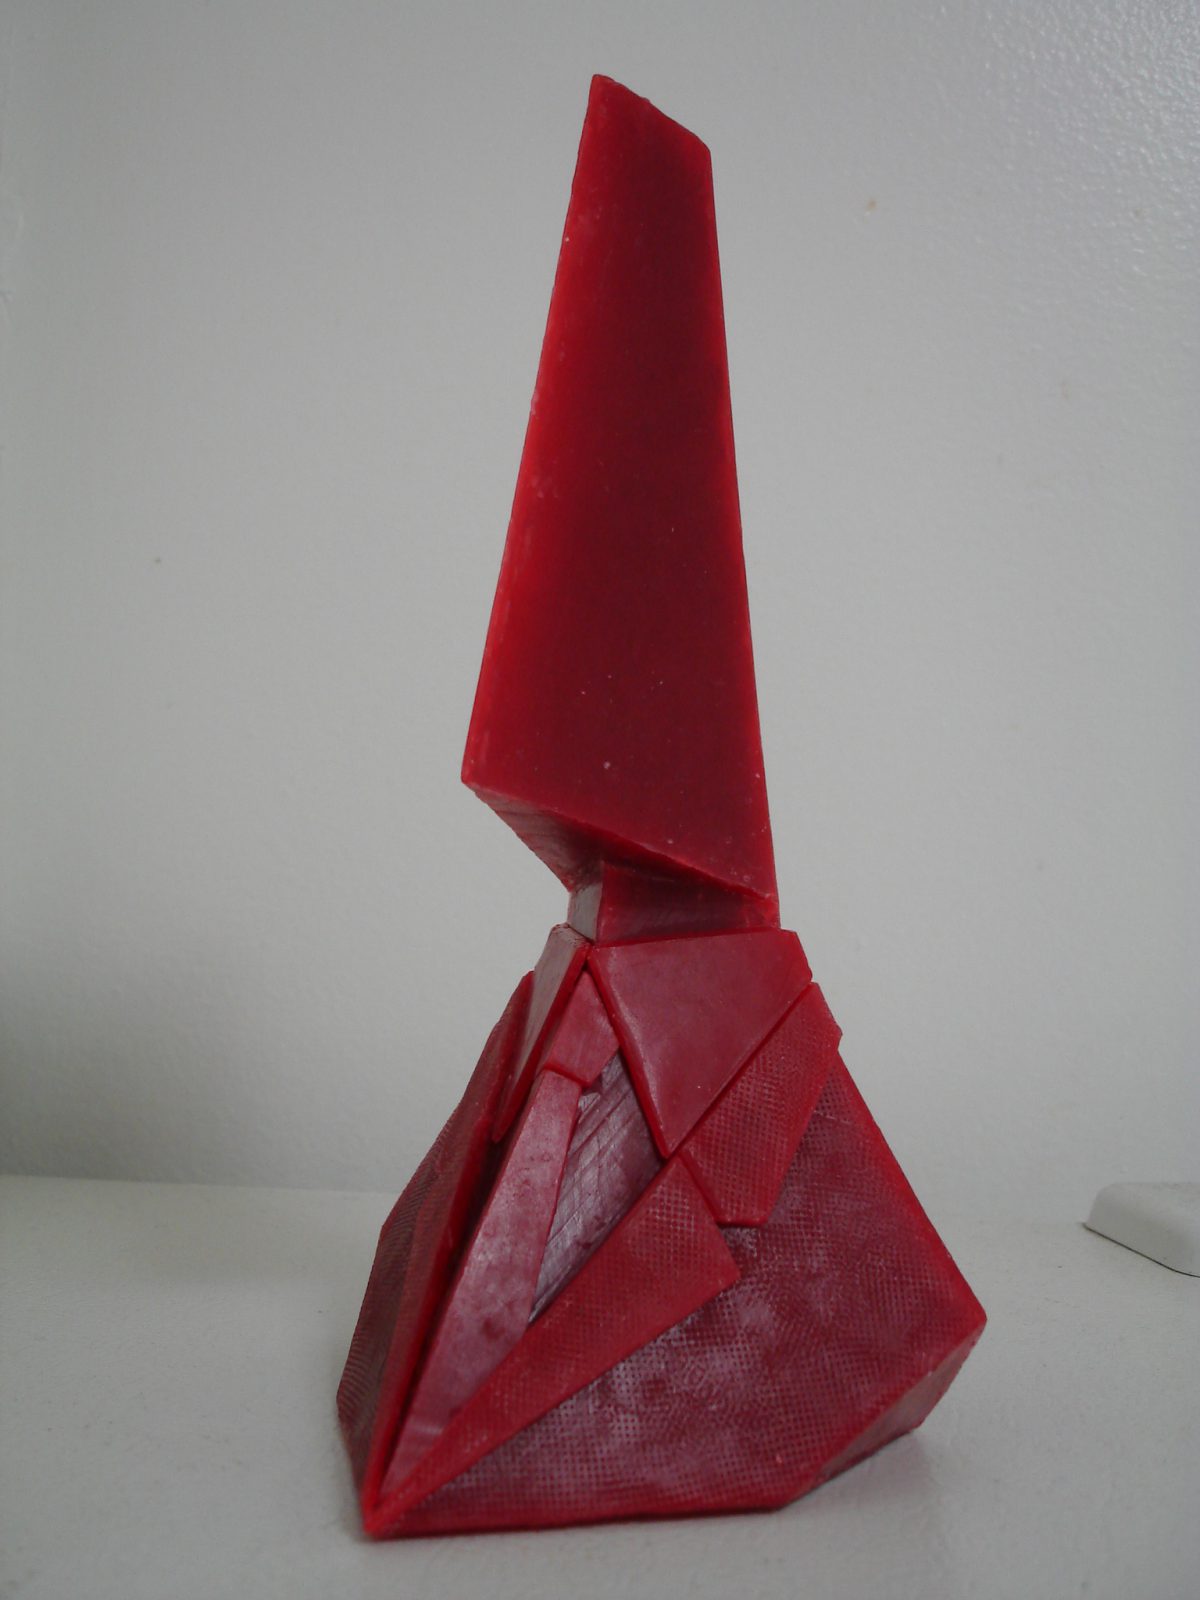
Divider – wip – Finish off wax model
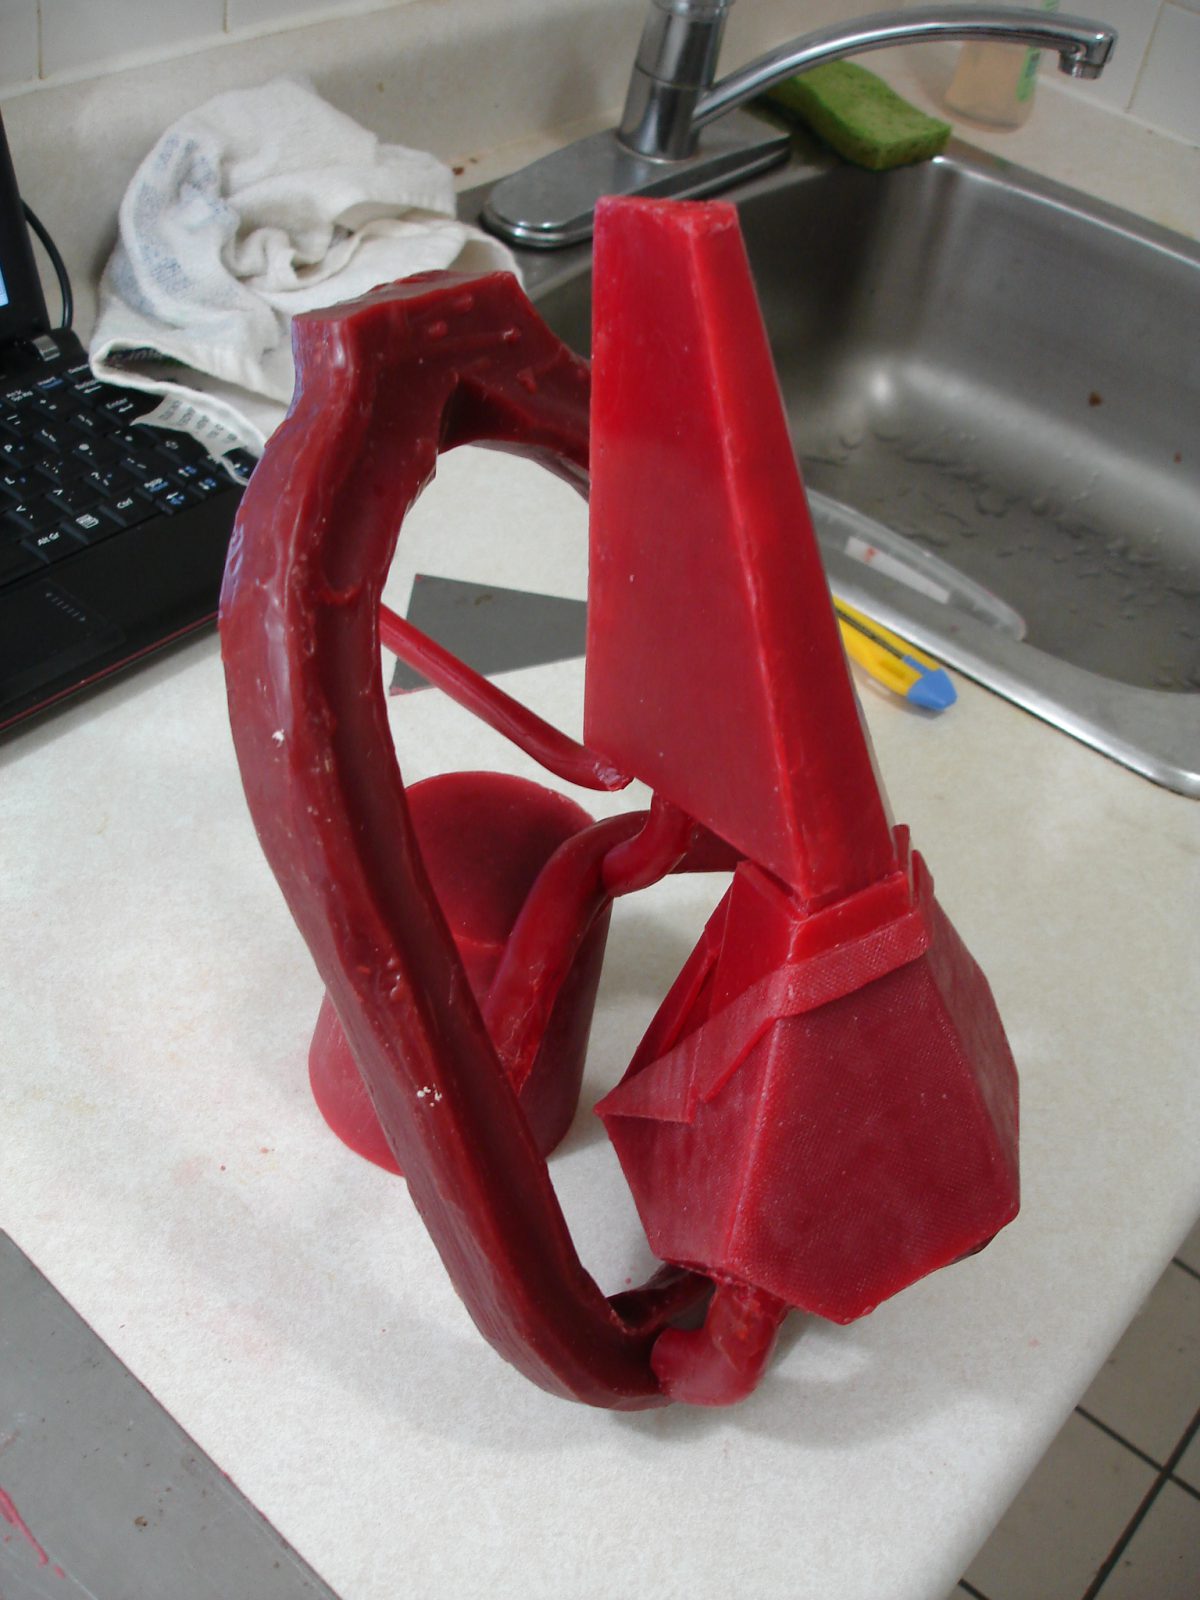
Divider – wip – Rig it up with the sprouts and vents
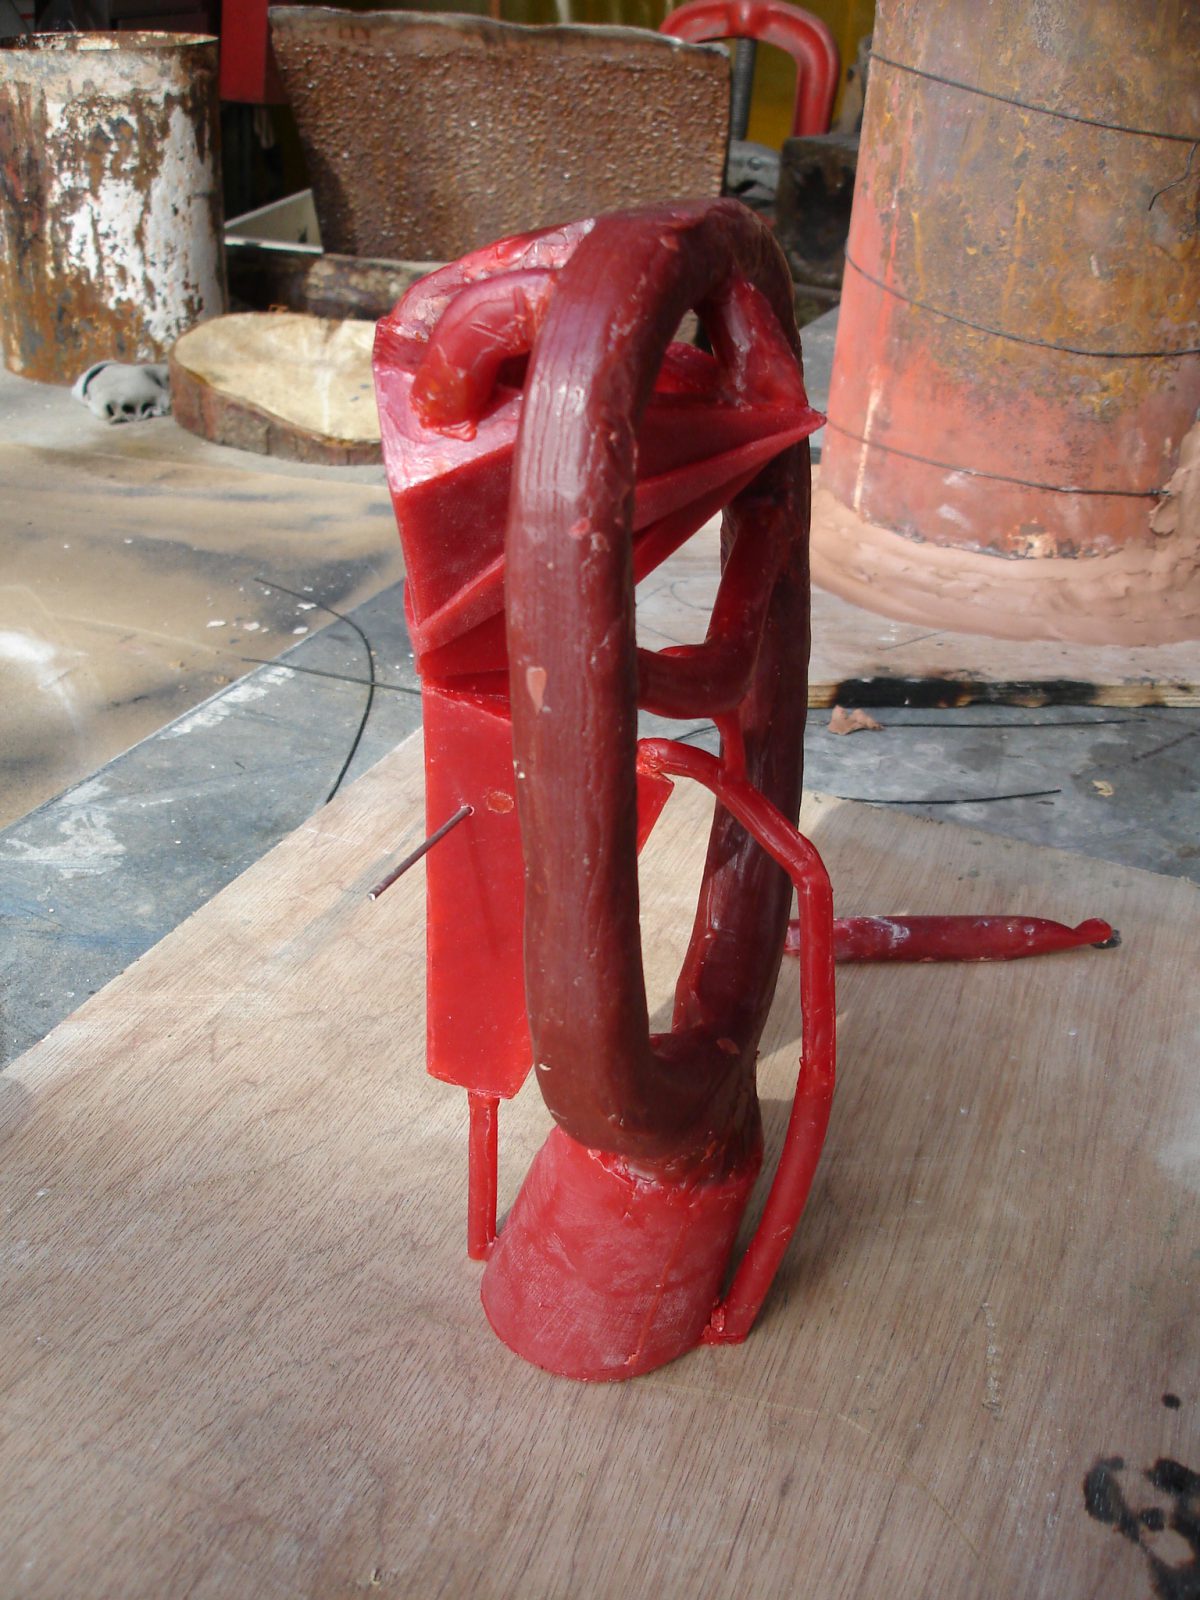
Divider – wip – Add a pin to hold the core
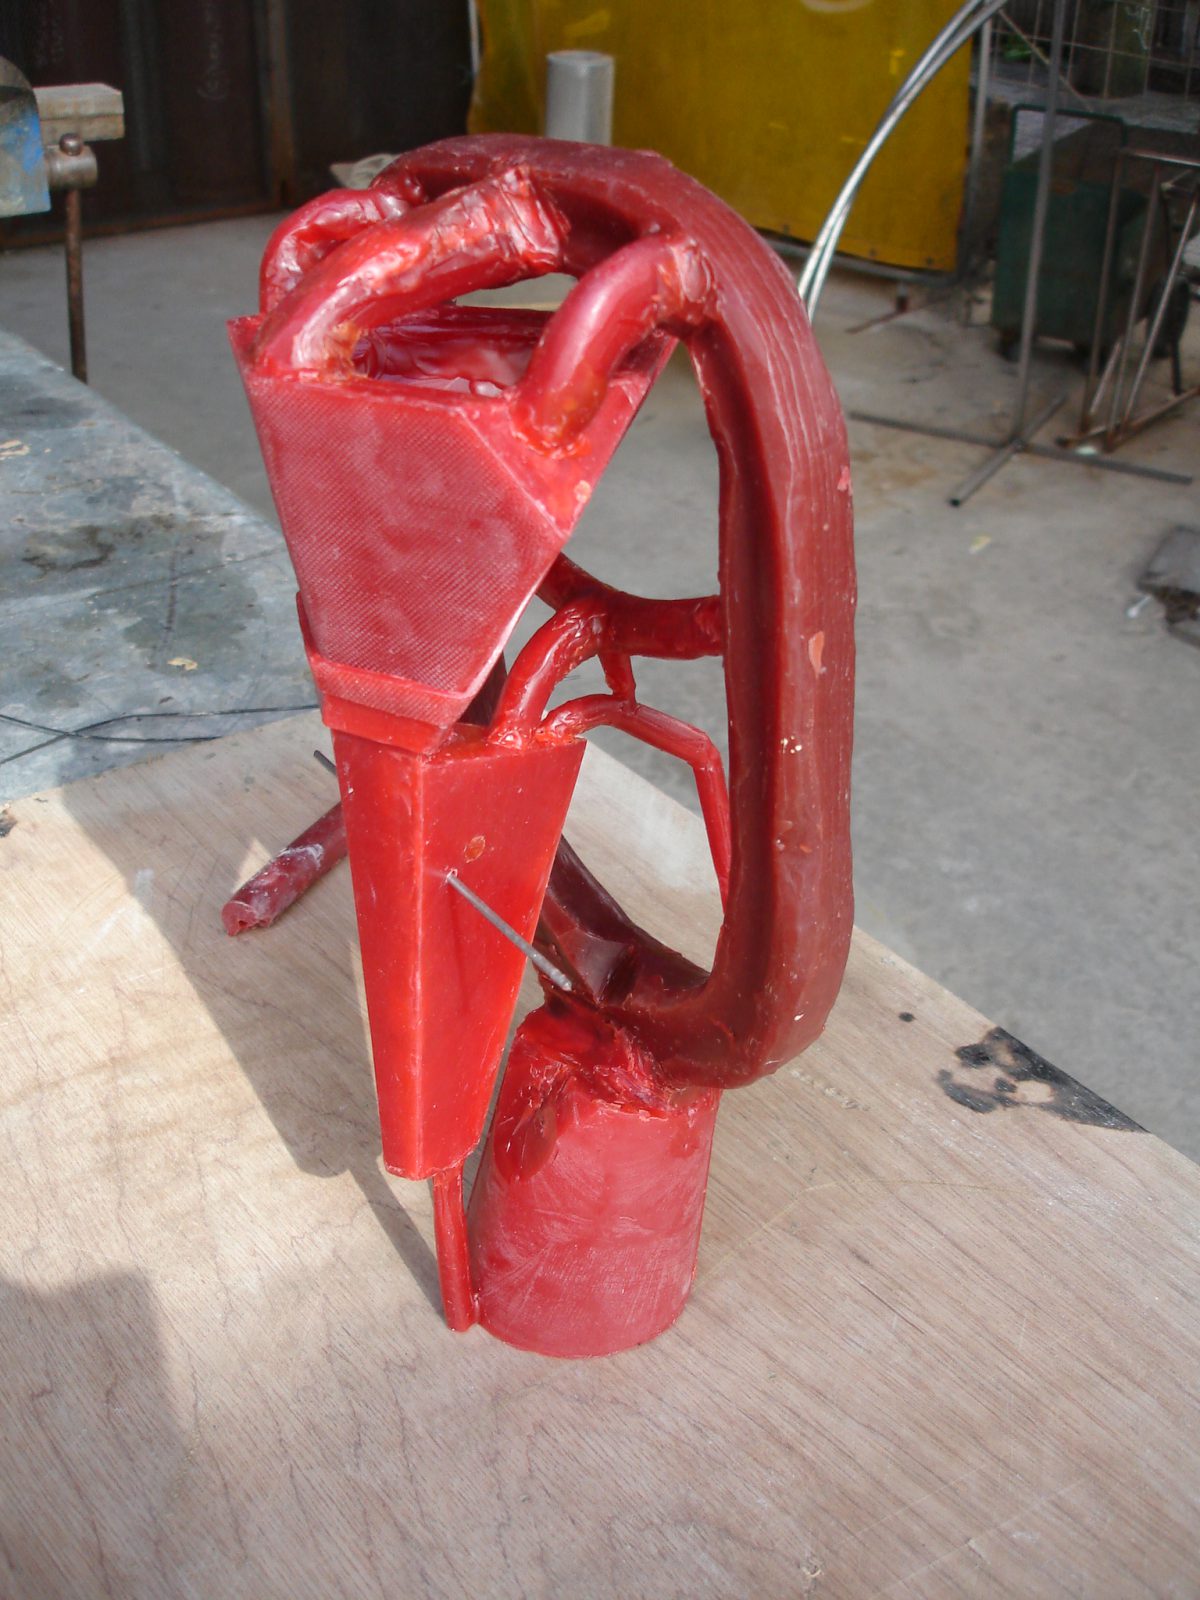
Divider – wip – Add a pin to hold the core
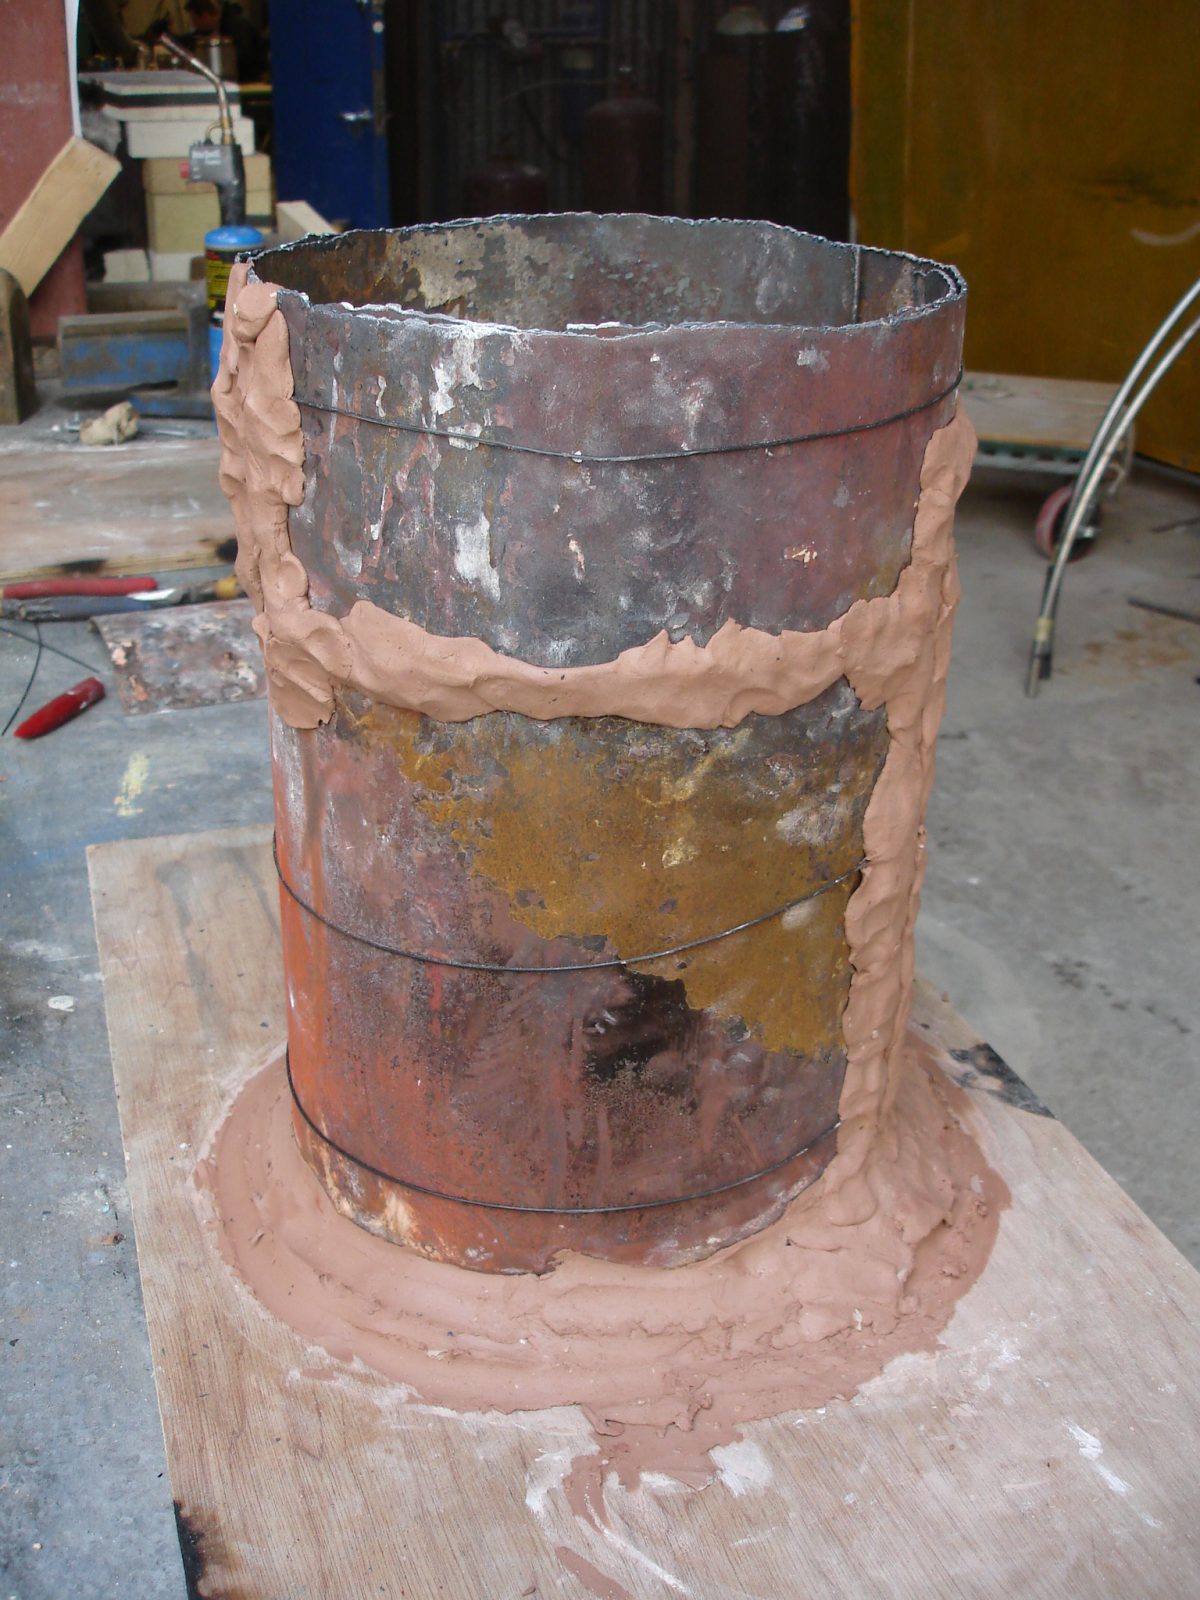
Divider – wip – Prepare the flask
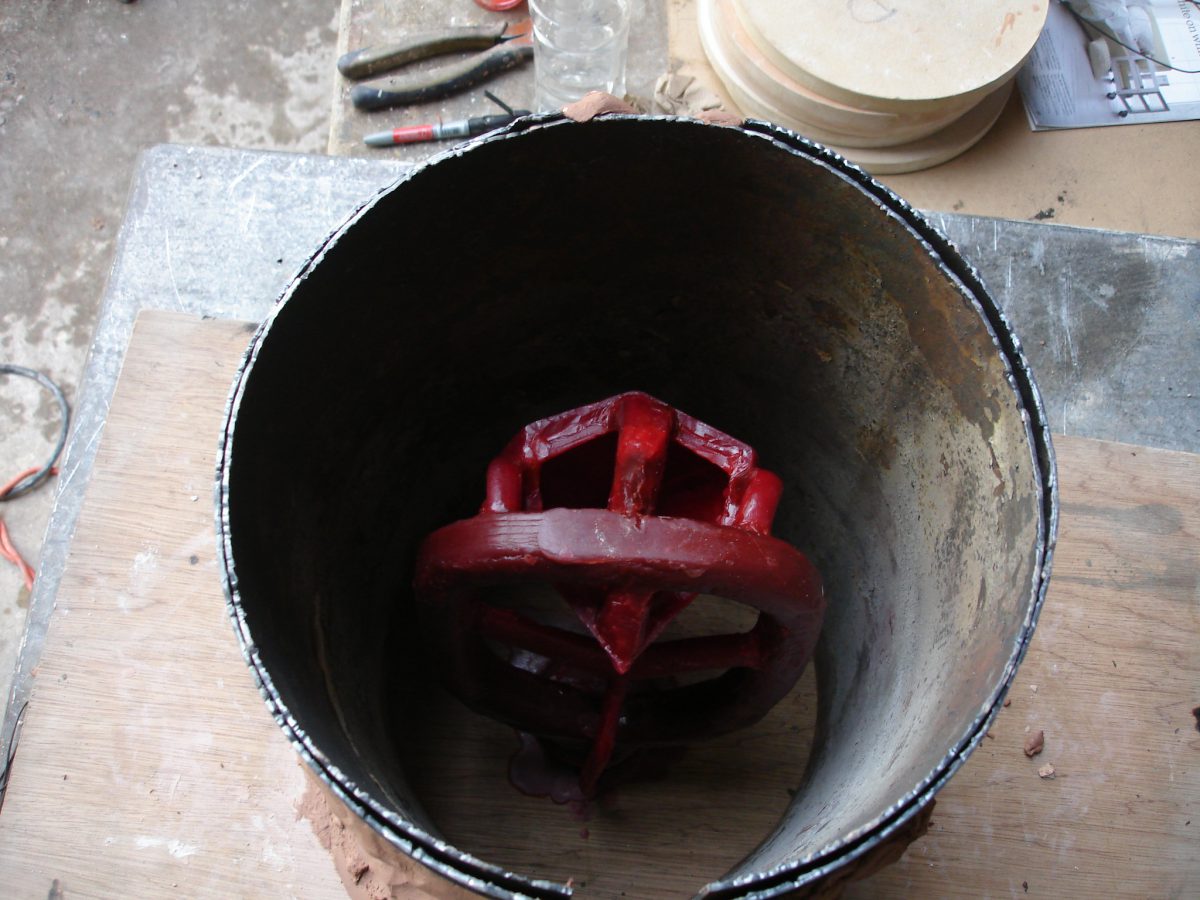
Divider – wip – Attatch wax model to the base
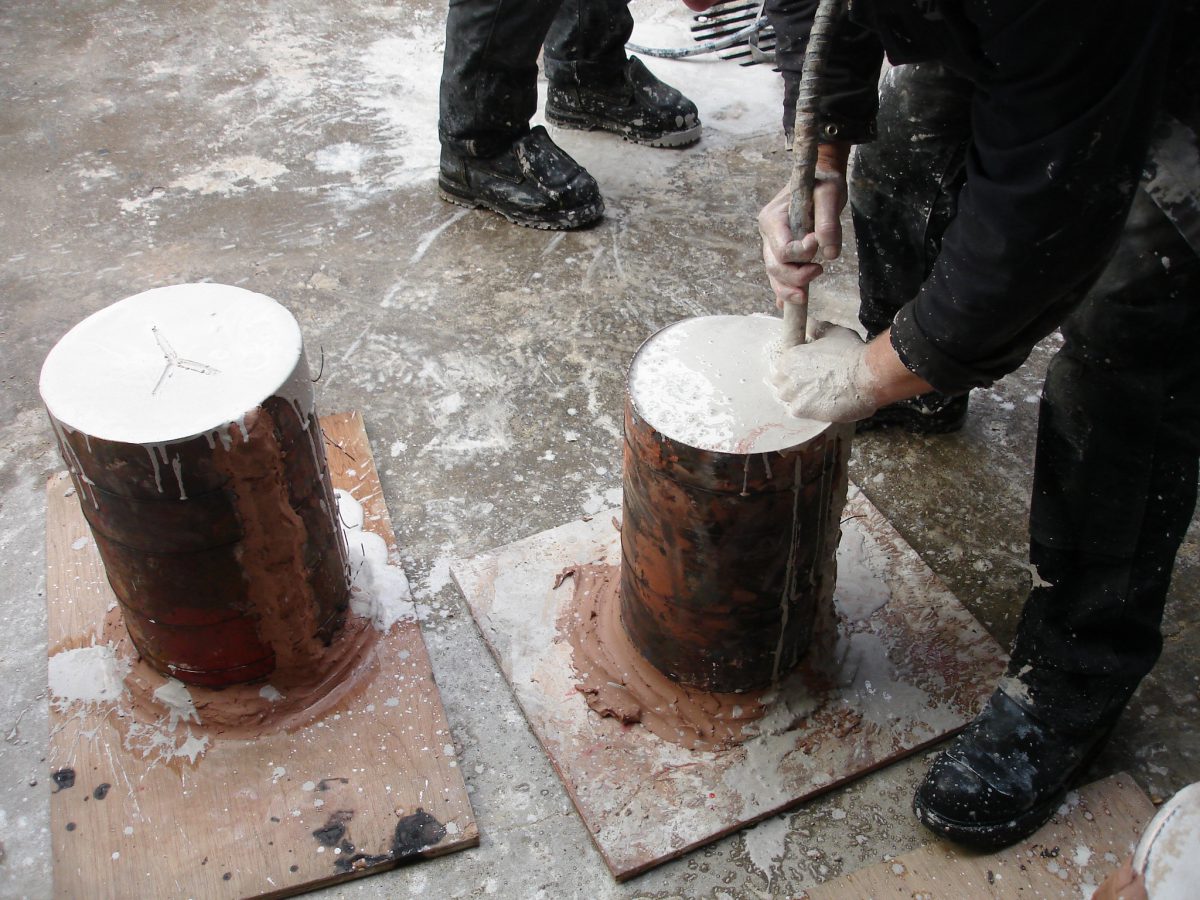
Divider – wip – Pour the investment and remove air bubbles
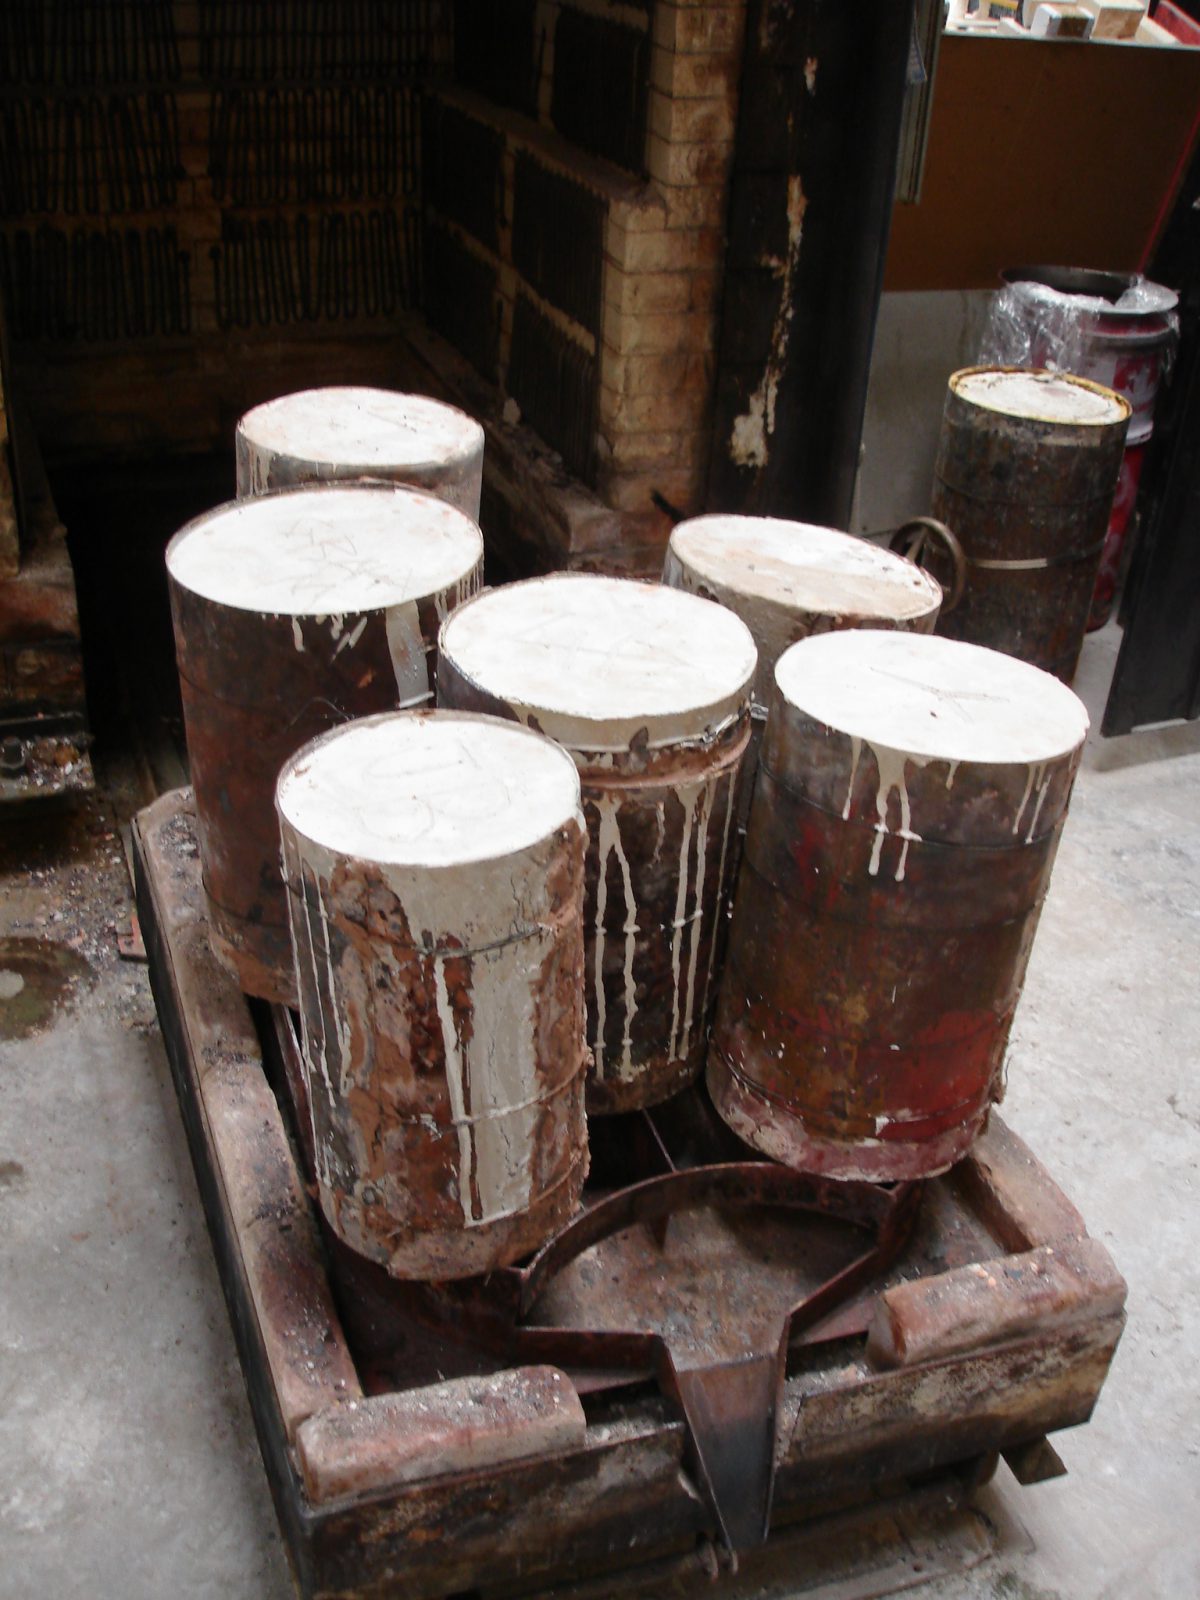
Divider – wip – Into the oven

Divider – wip – Melt some bronze
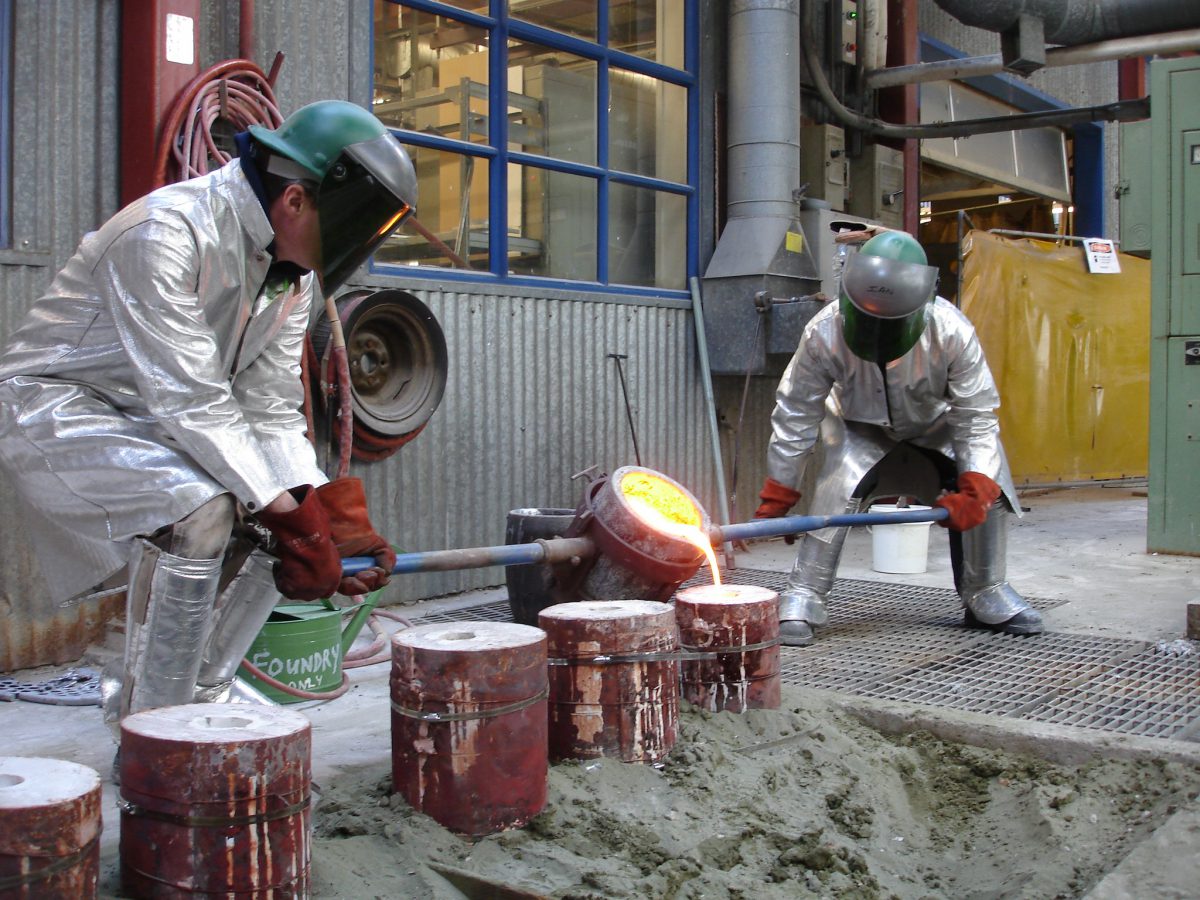
Divider – wip – Pour some bronze
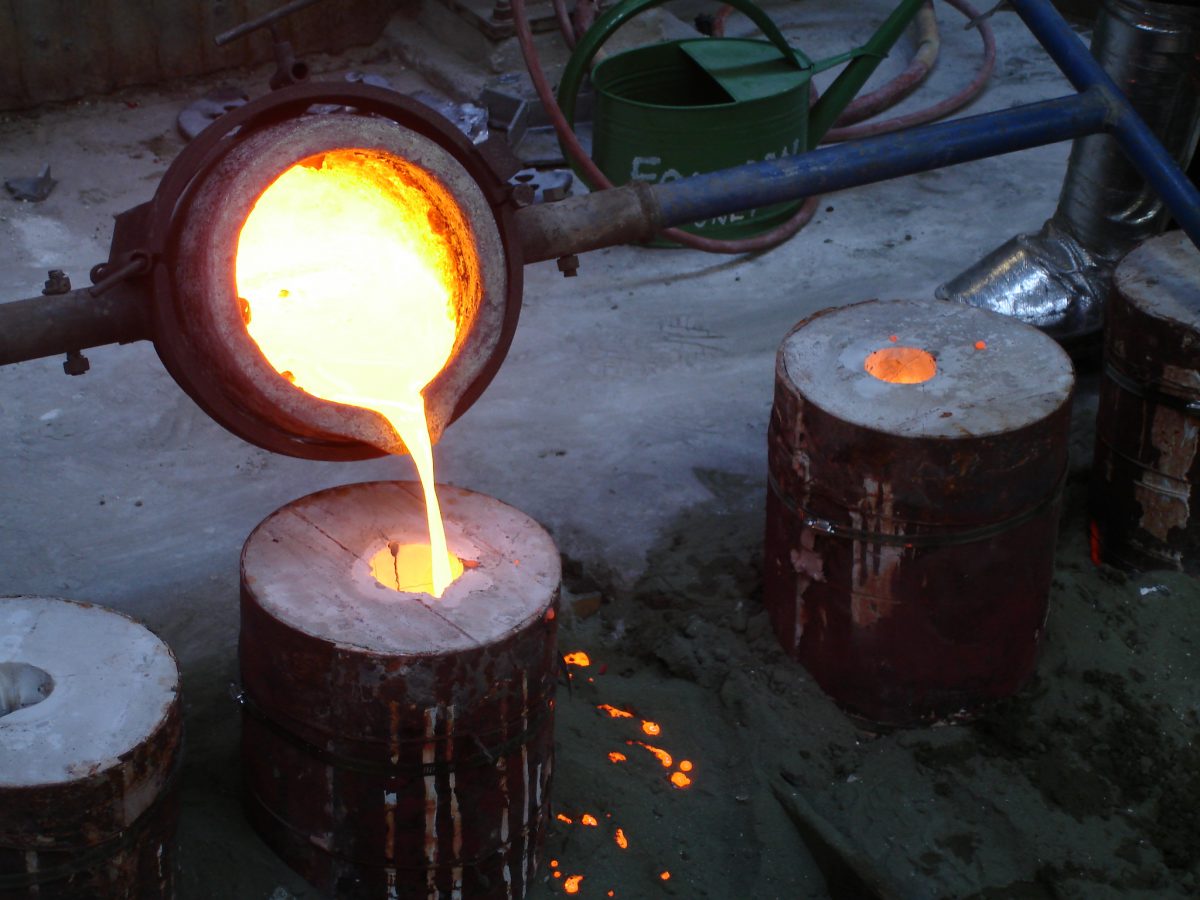
Divider – wip – Spill some bronze
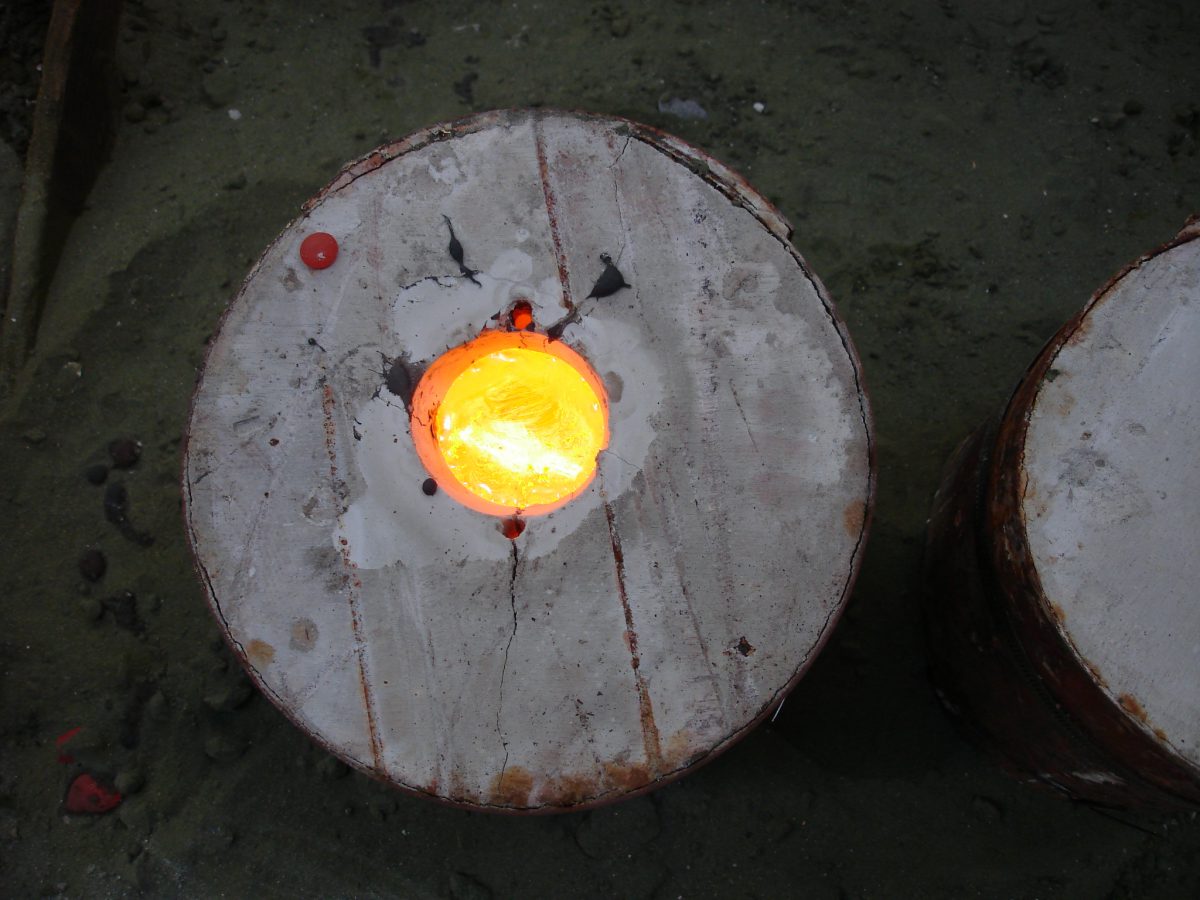
Divider – wip – Wait to cool down
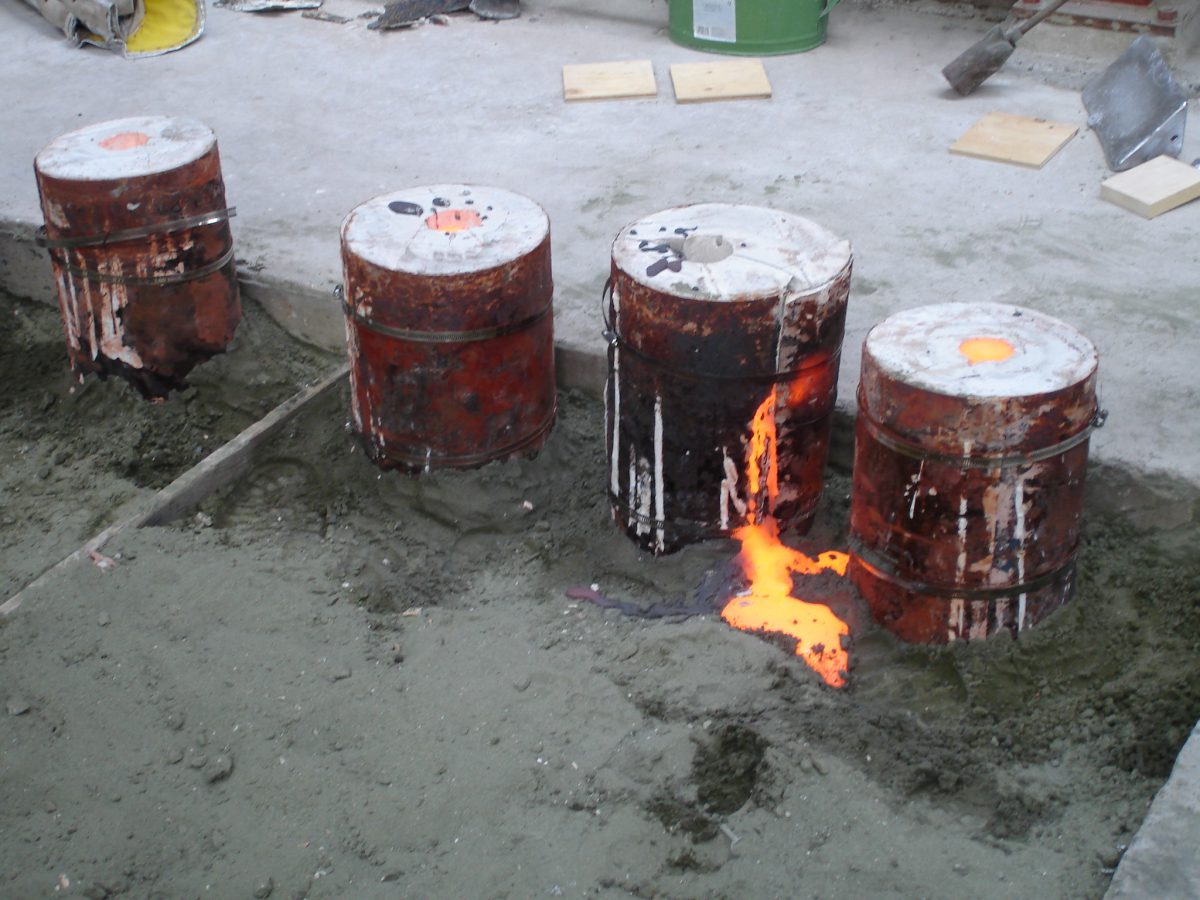
Divider – wip – Unlucky investment that broke
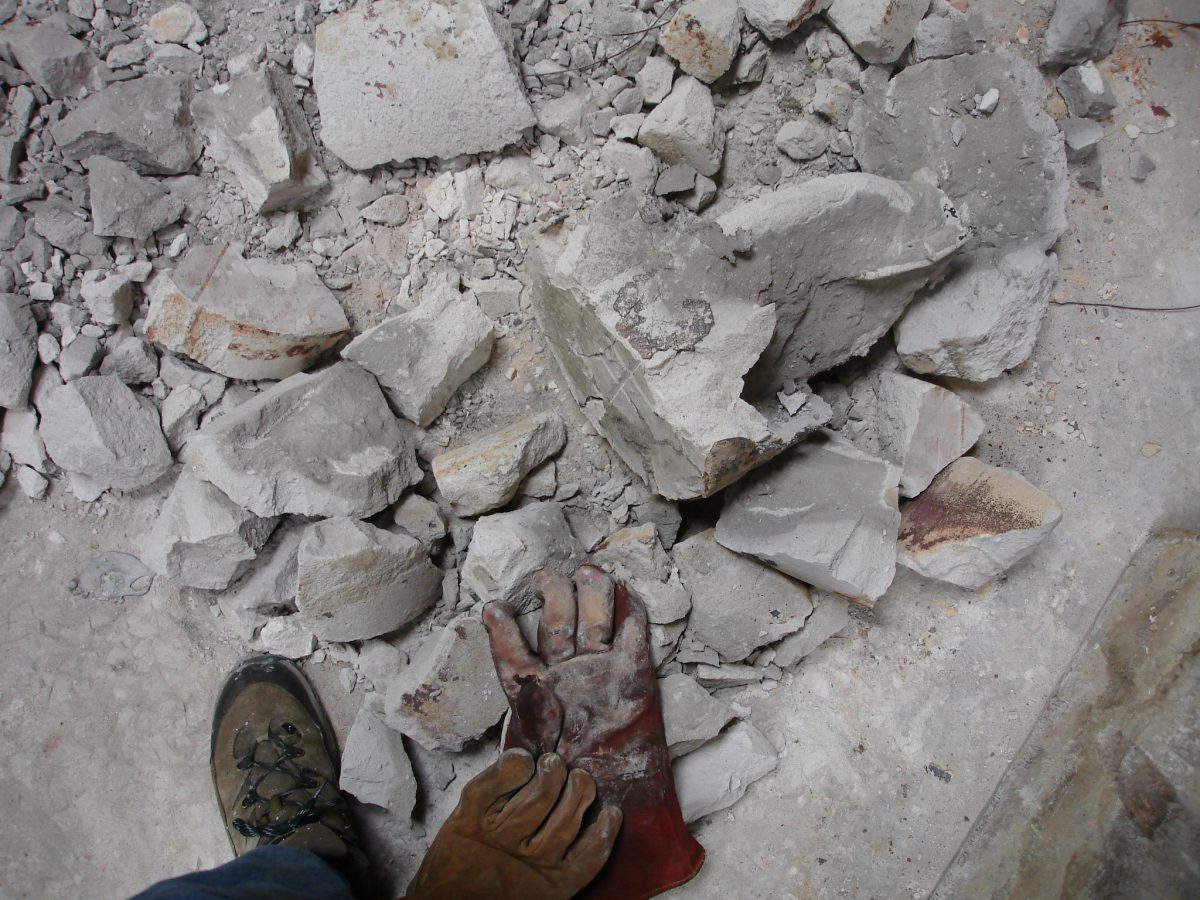
Divider – wip – Break it apart
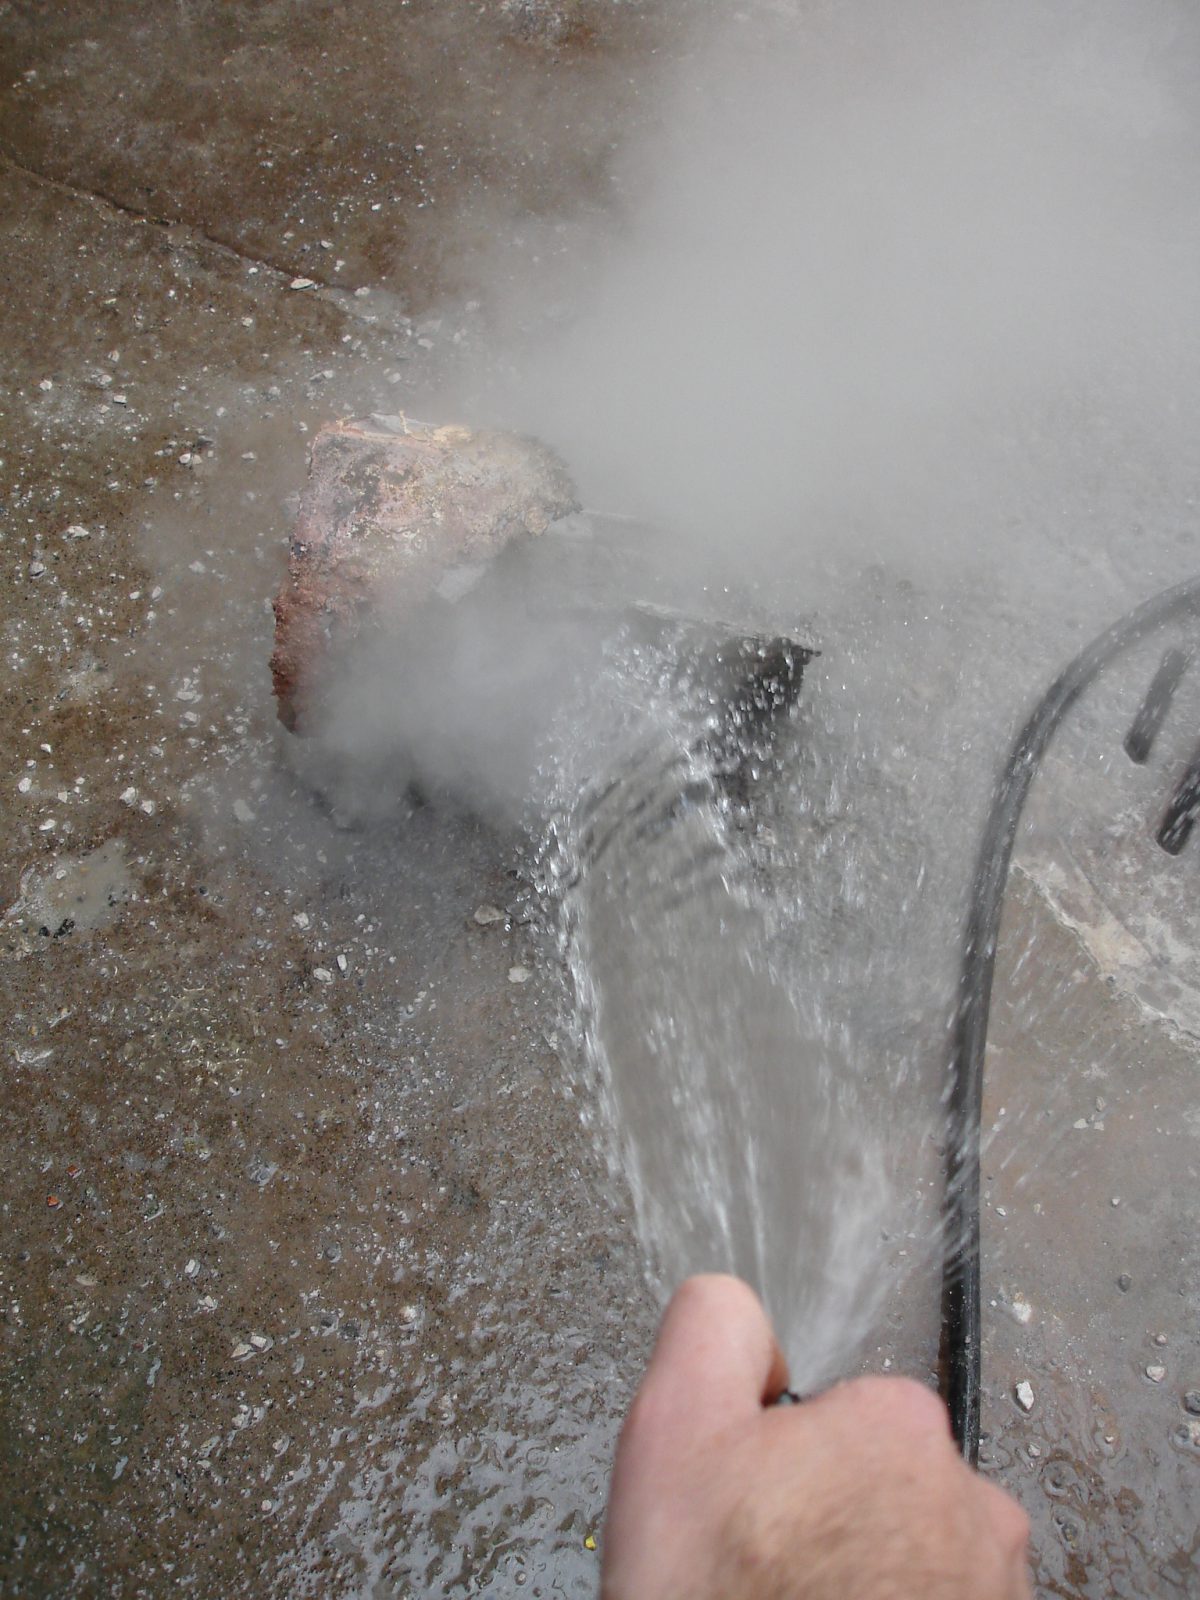
Divider – wip – Cool it down with water
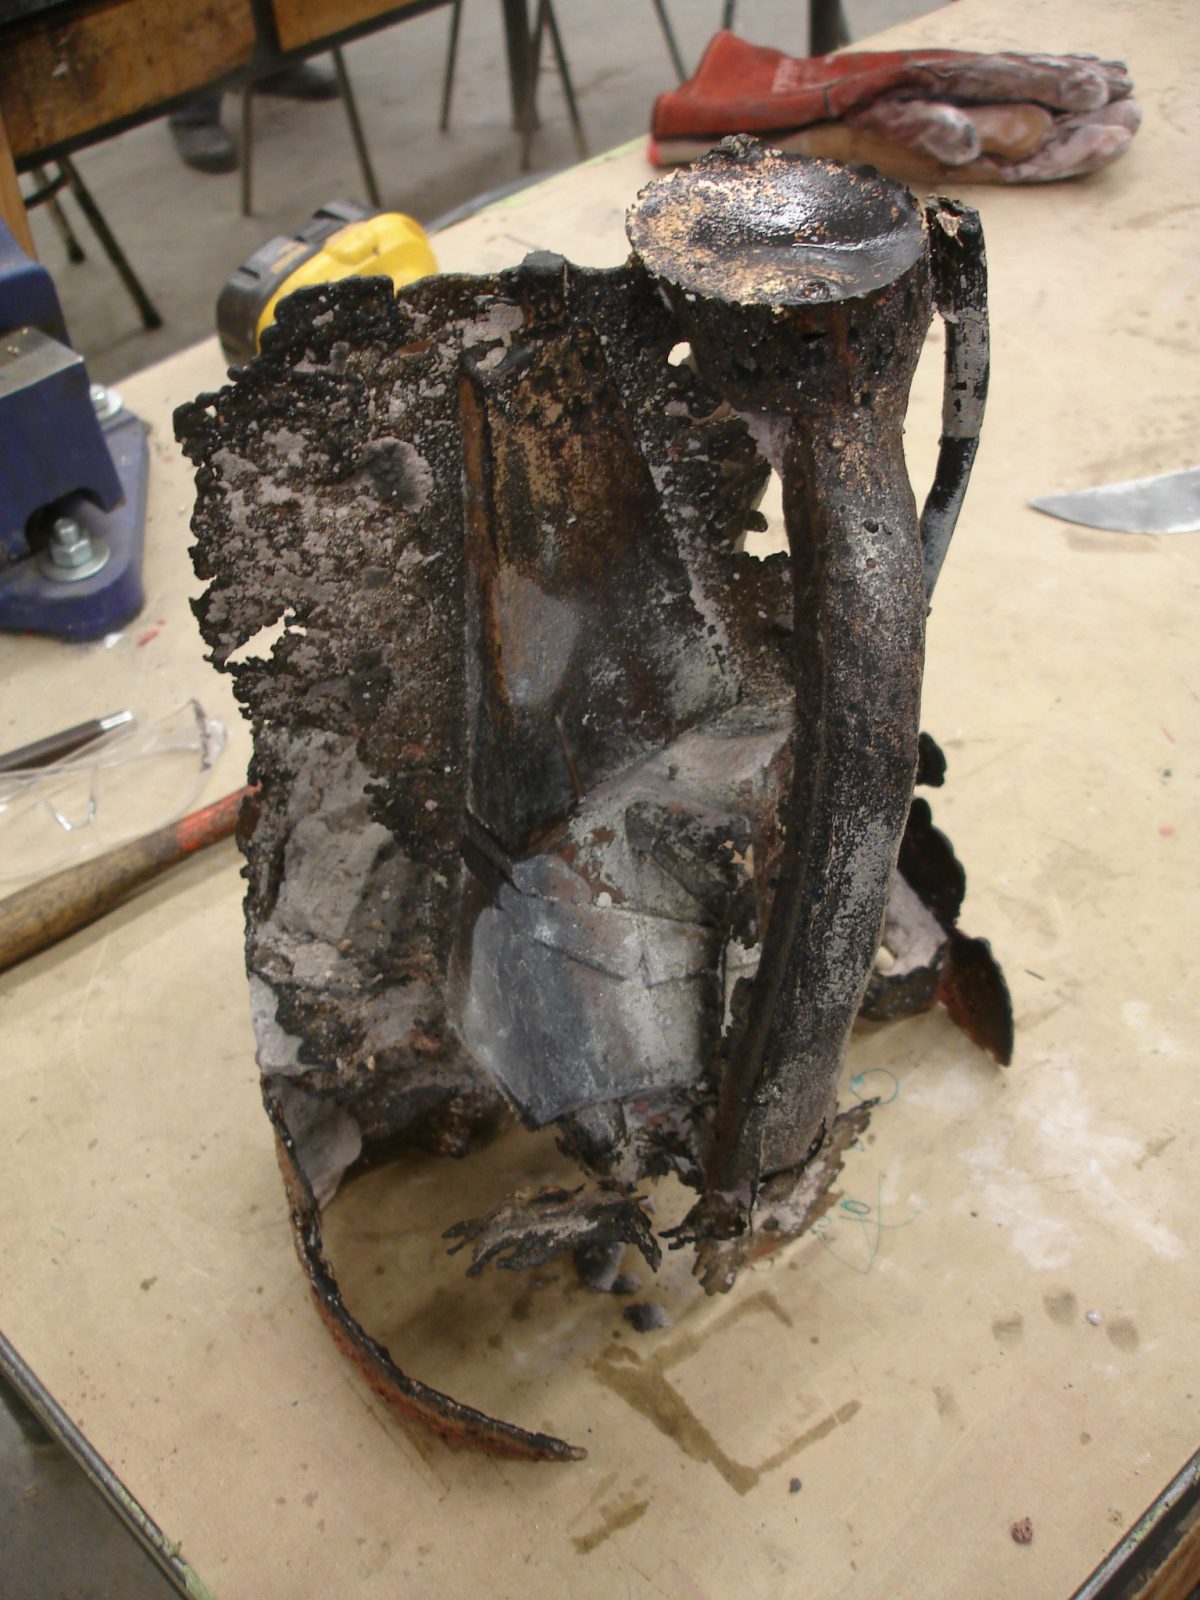
Divider – wip – Flashed bronze all over
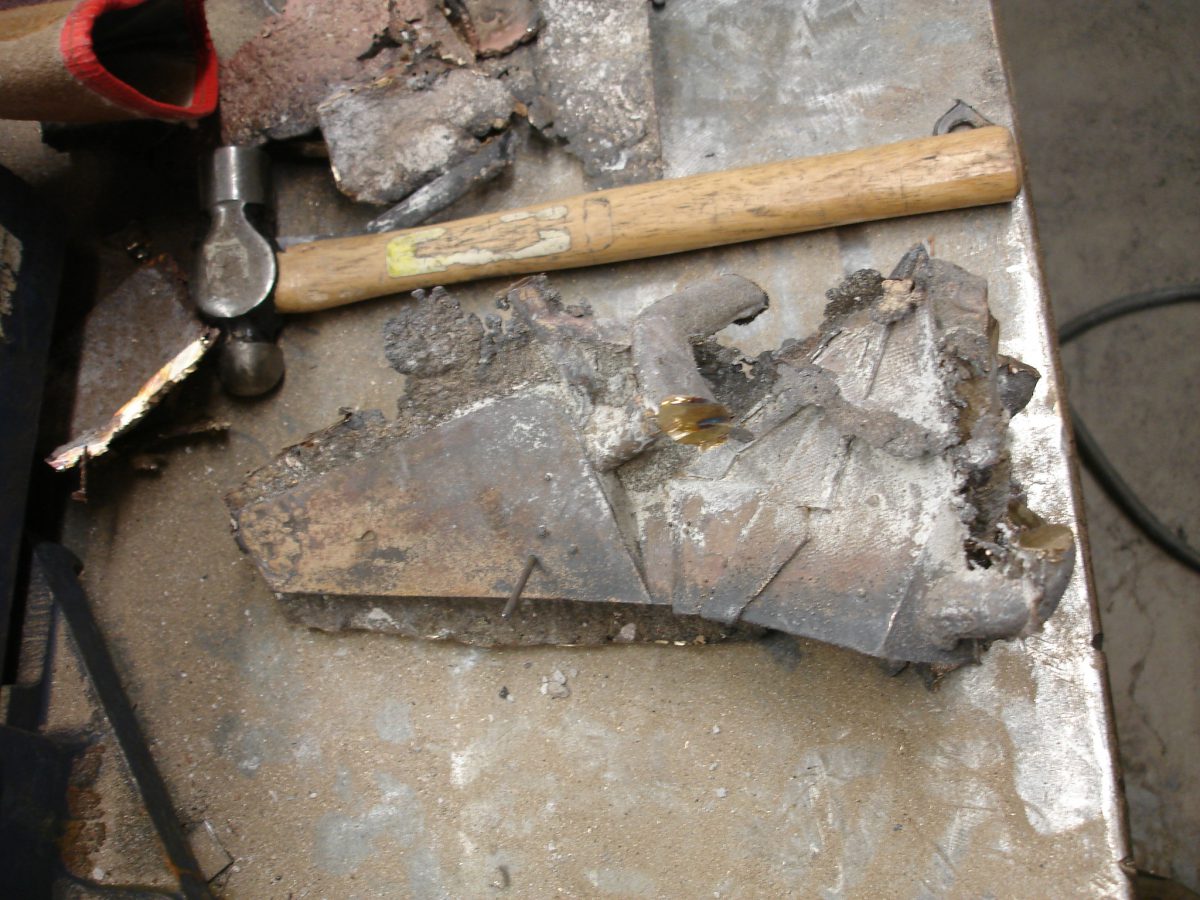
Divider – wip – Start cleaning up
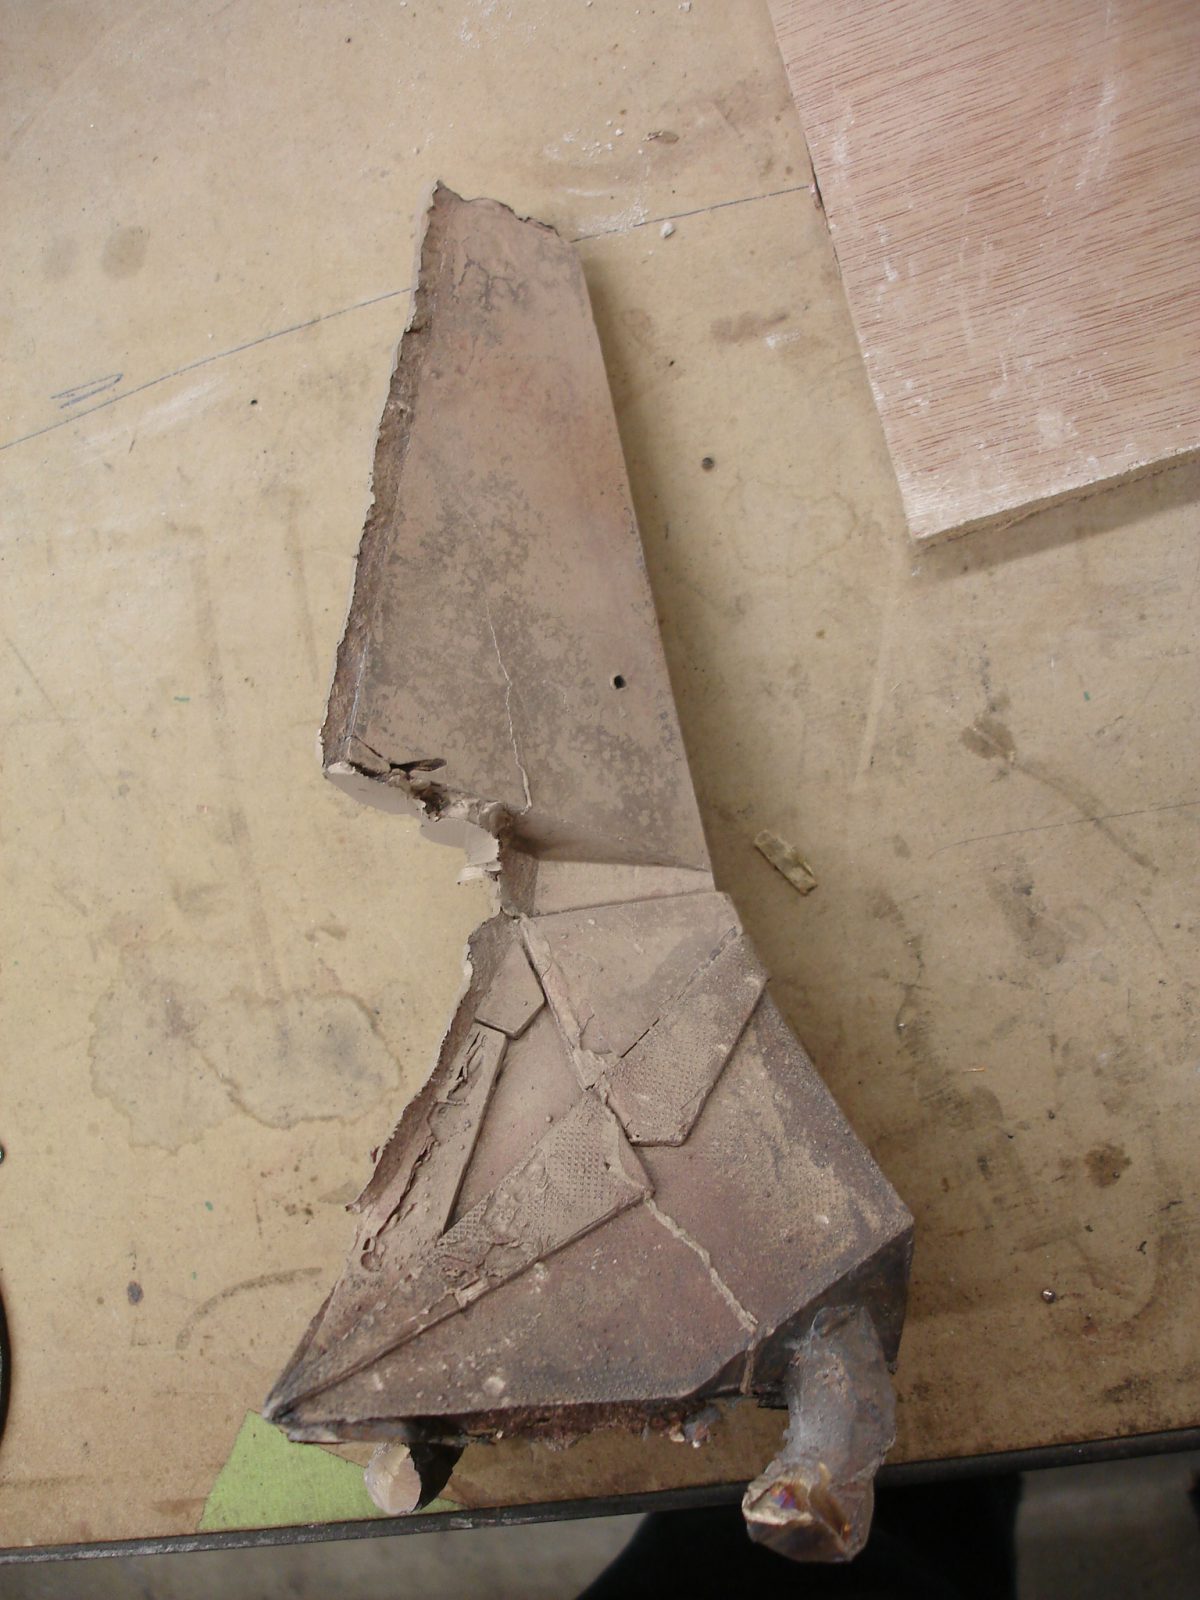
Divider – wip – Remove unwanted parts
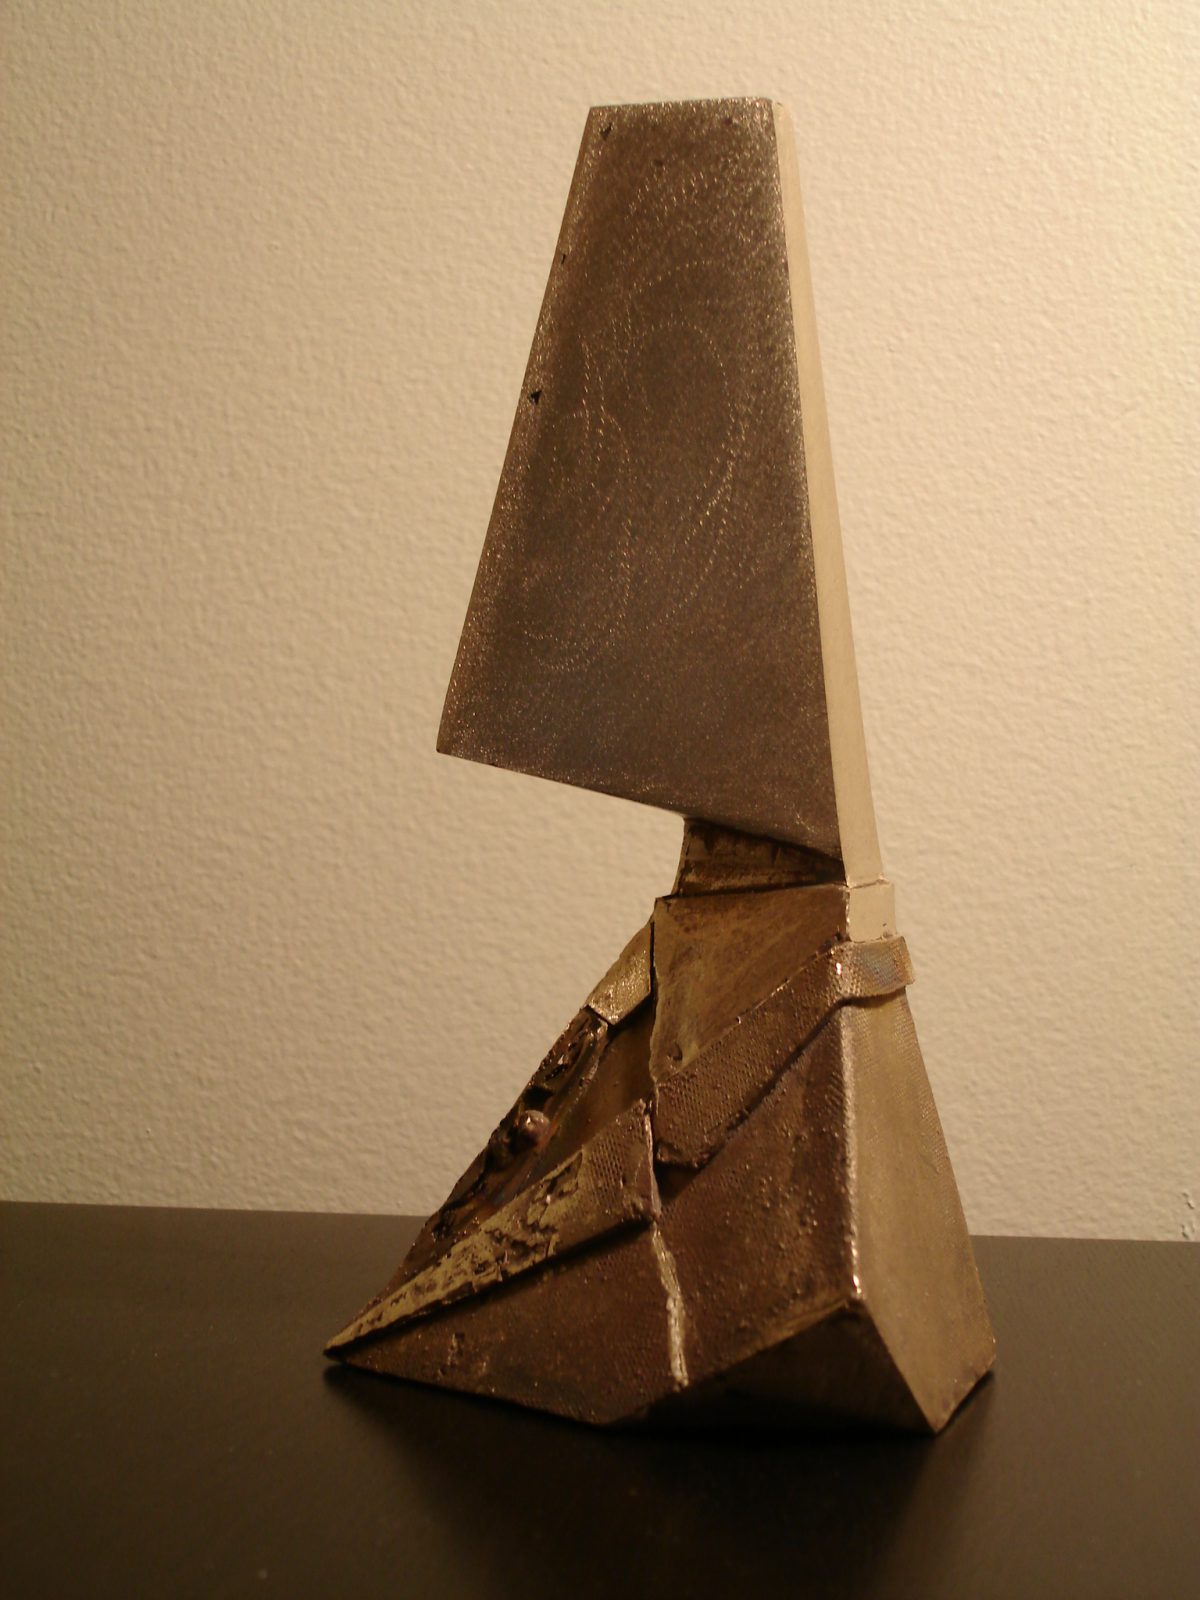
Divider – wip – Start polishing

Divider – wip – Fix tie
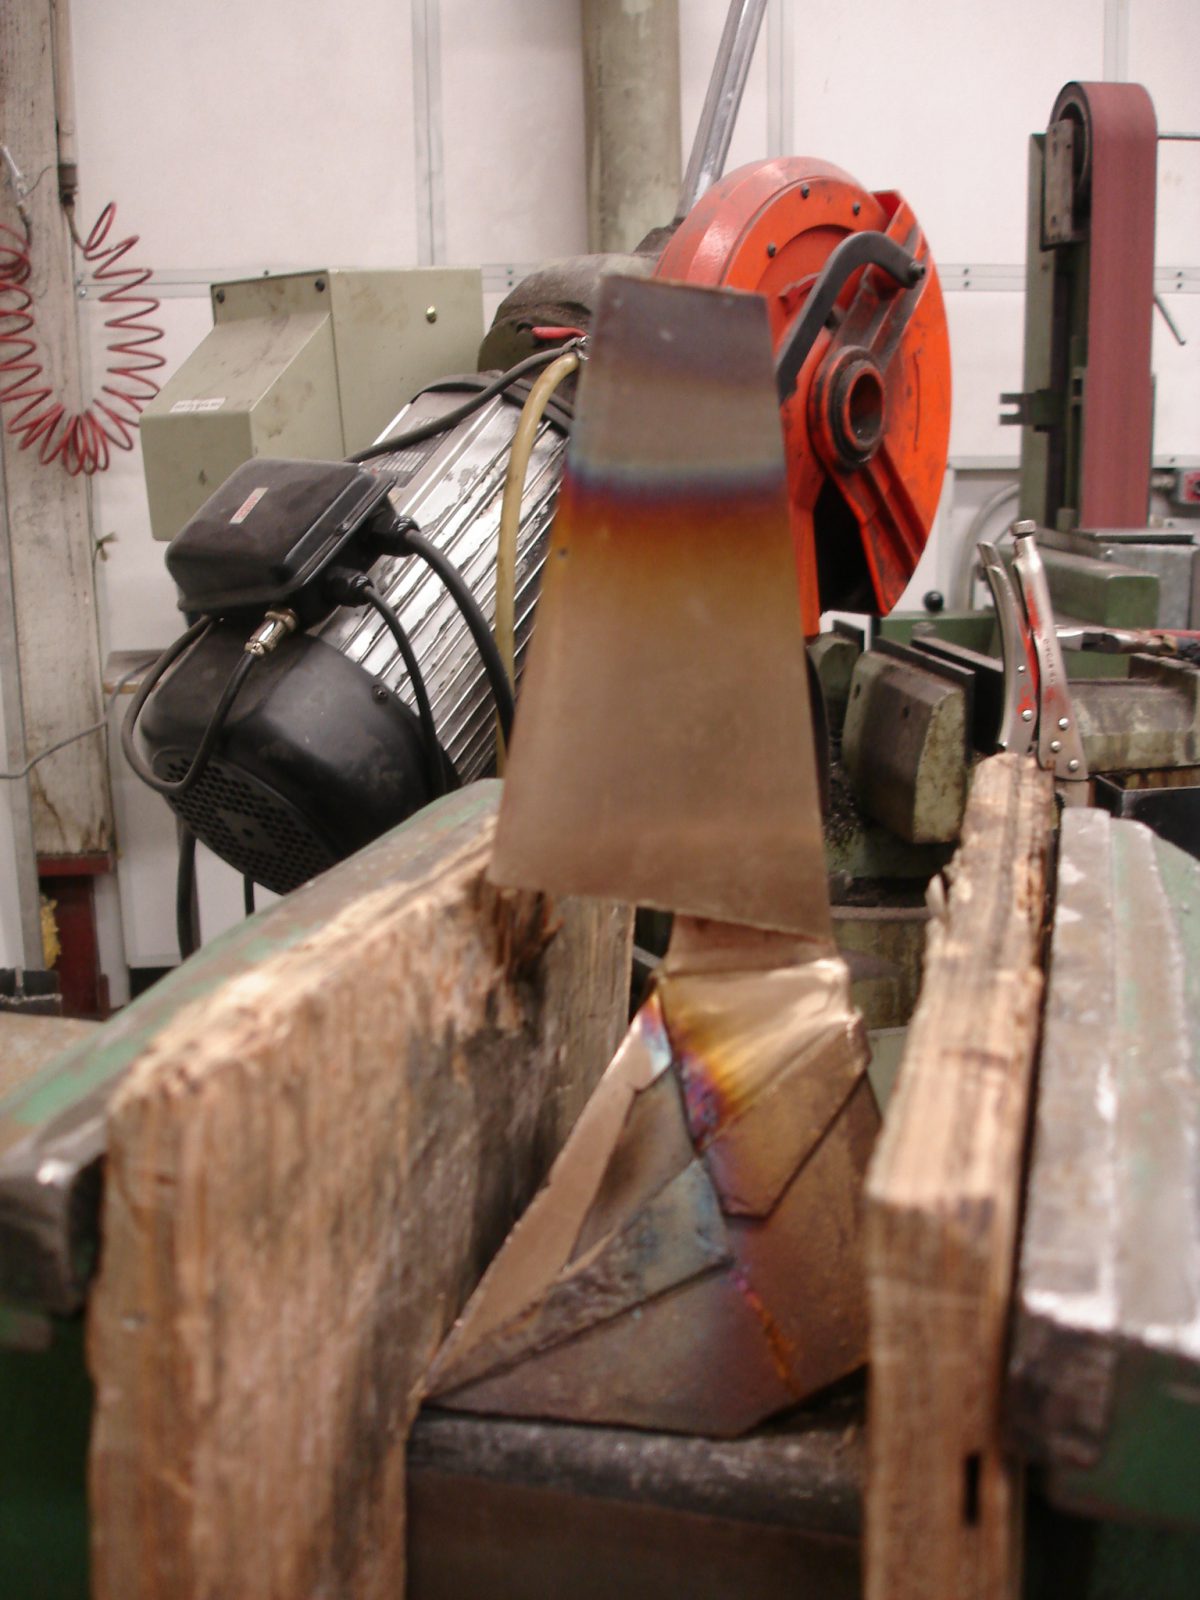
Divider – wip – Grind
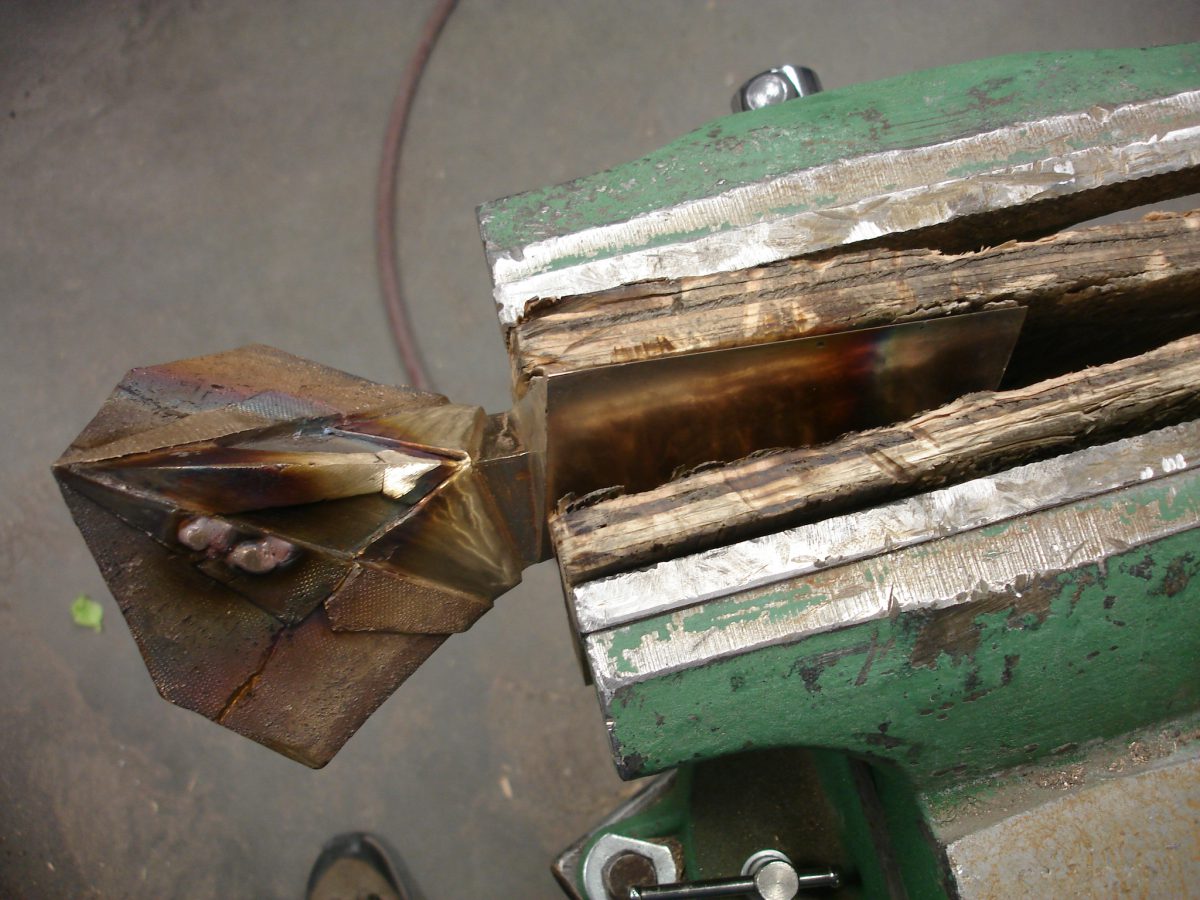
Divider – wip – Finish it off
